In this project, I had the exciting opportunity to serve as both the Virtual Production Operator and Unreal Engine Artist. I was responsible for managing real-time environments, integrating digital assets, and ensuring seamless interaction between the virtual and physical elements on set. This experience deepened my understanding of cutting-edge VP workflows and strengthened my skills in Unreal Engine.
Big Thank You as well to the Mentors Adrian Weber and Marc Angele for providing us with so much experience and knowhow! Without them it wouldn’t have been possible!
My Tasks:
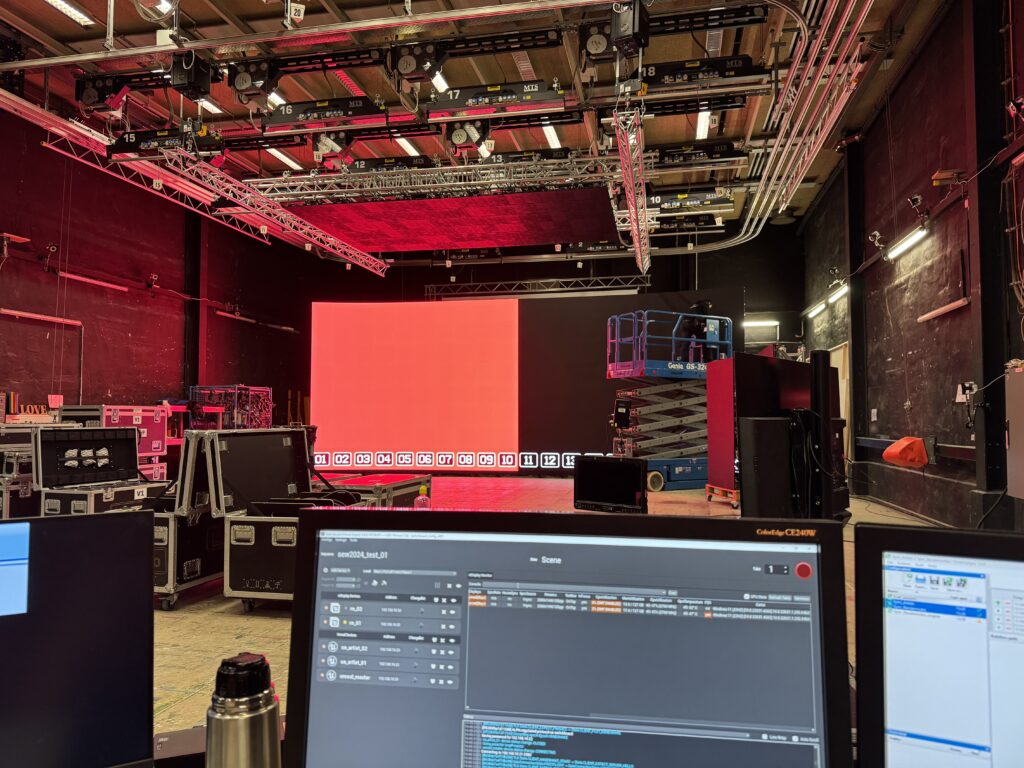
Setup of the LED-Wall with Brompton & Novastar Processors
Network config
10Gbit Network
8 Switches
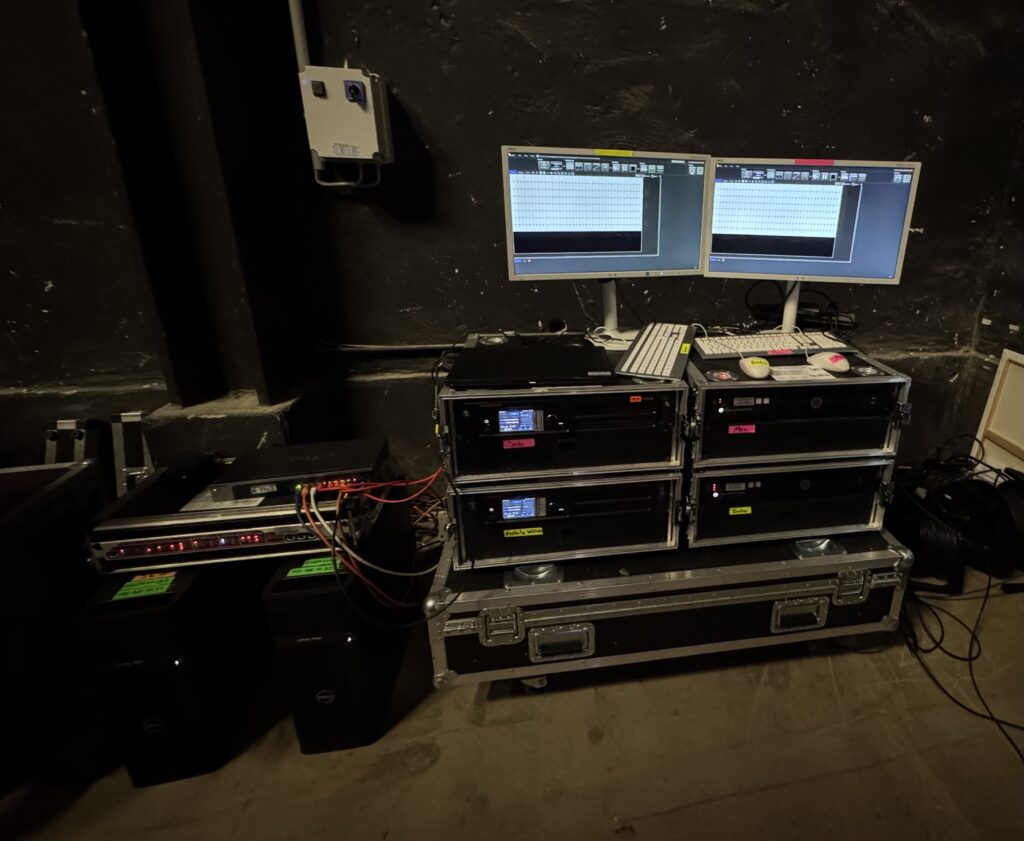
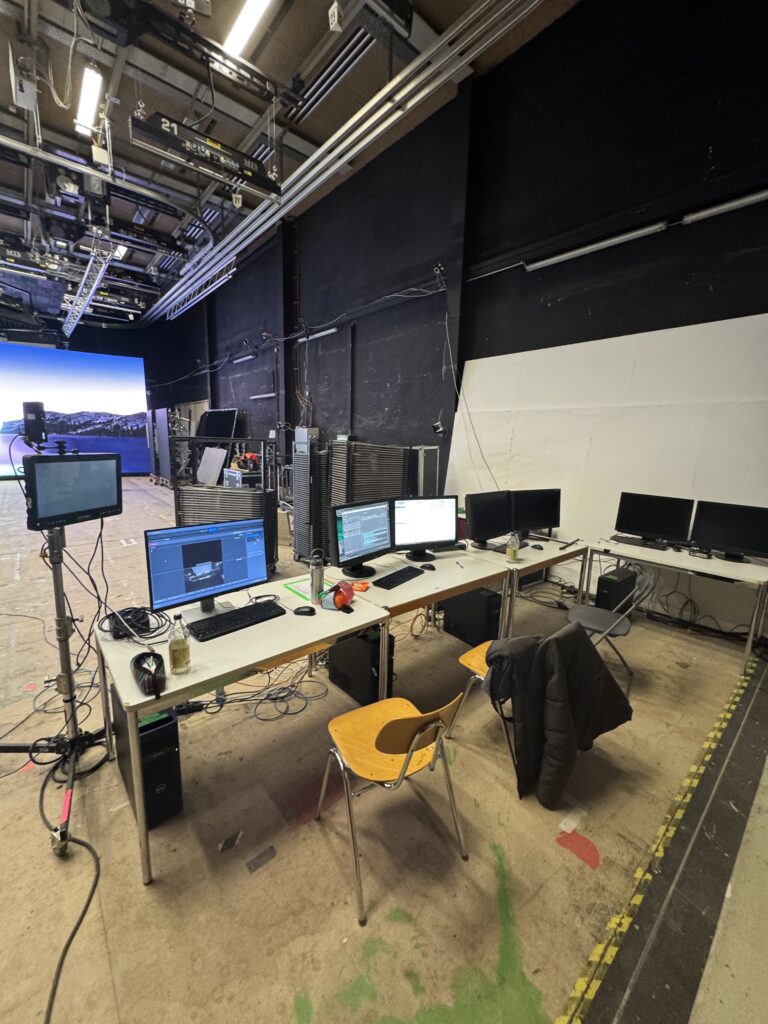
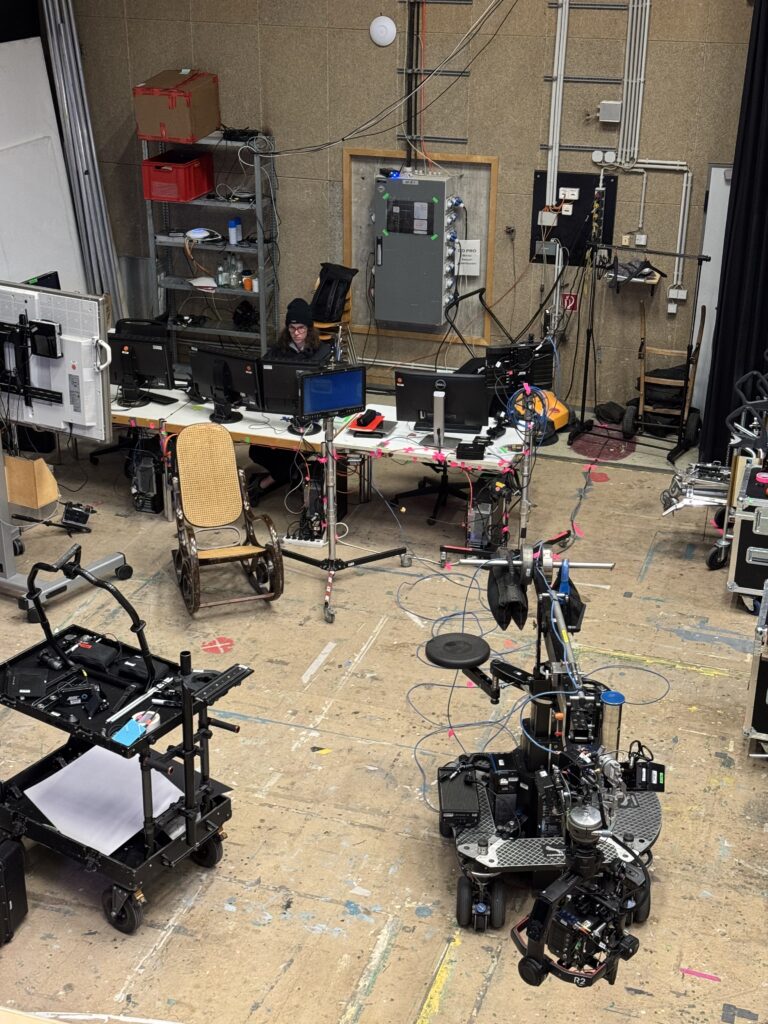
Setup of Brainbar & Render Nodes
4 Brainbar PCs
2 UE Artist Workstations
1 VP Operator Workstation
1 Tracking Workstation
FreeFilesync
Genlock & snyc
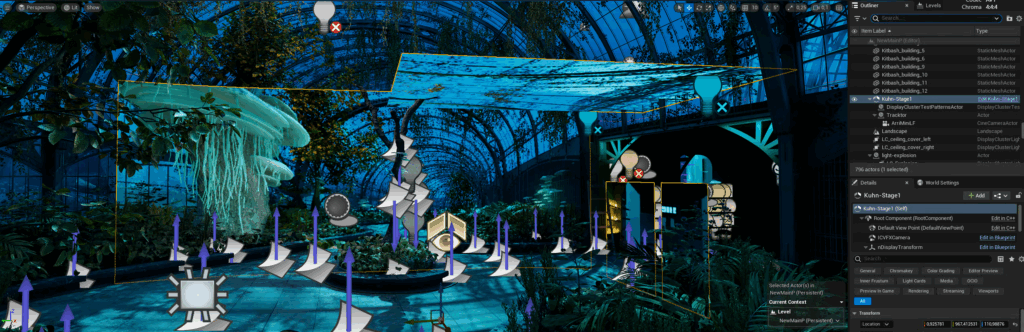
Unreal Engine Configuration
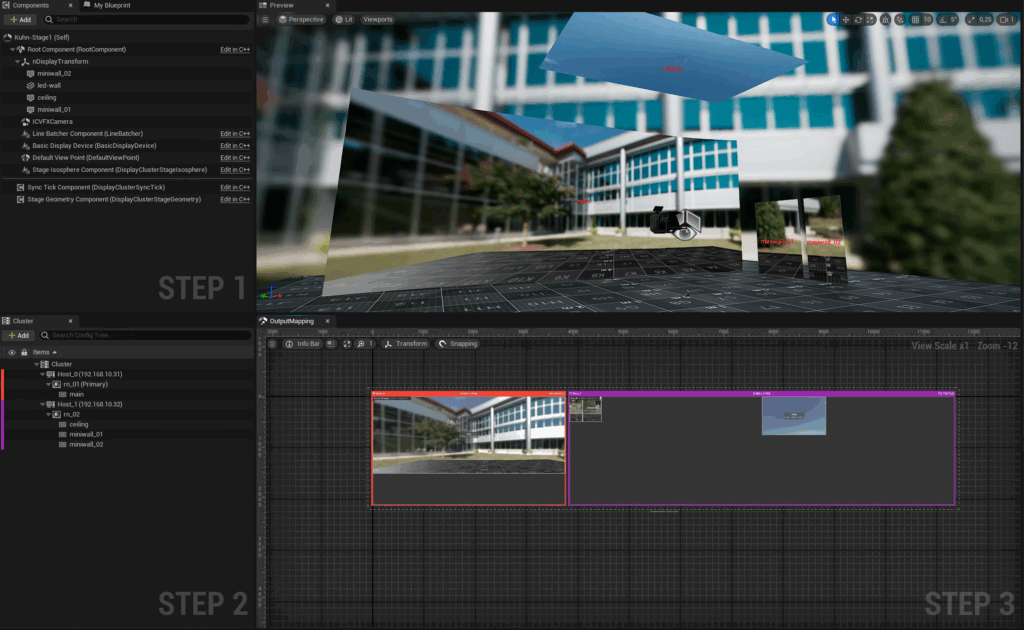
Managing NDisplay Config & Live Links to have the Virtual VP Stage in the Scene
Switchboard Setup
Optimization & Testing of the Scene
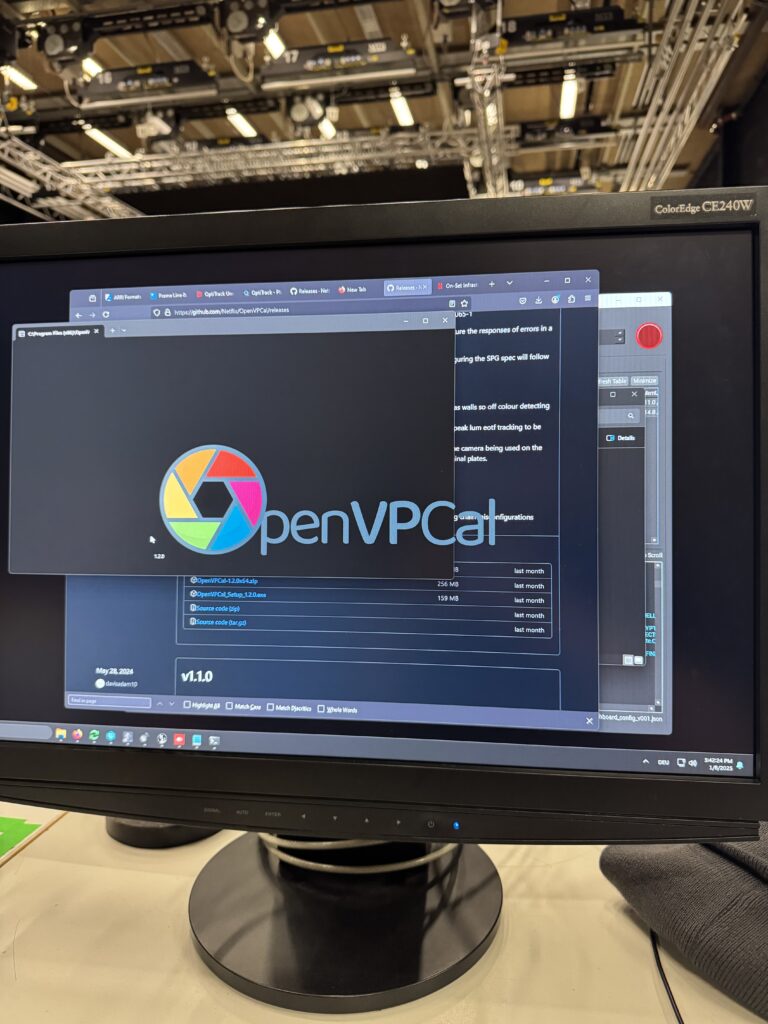
Calibration of the wall
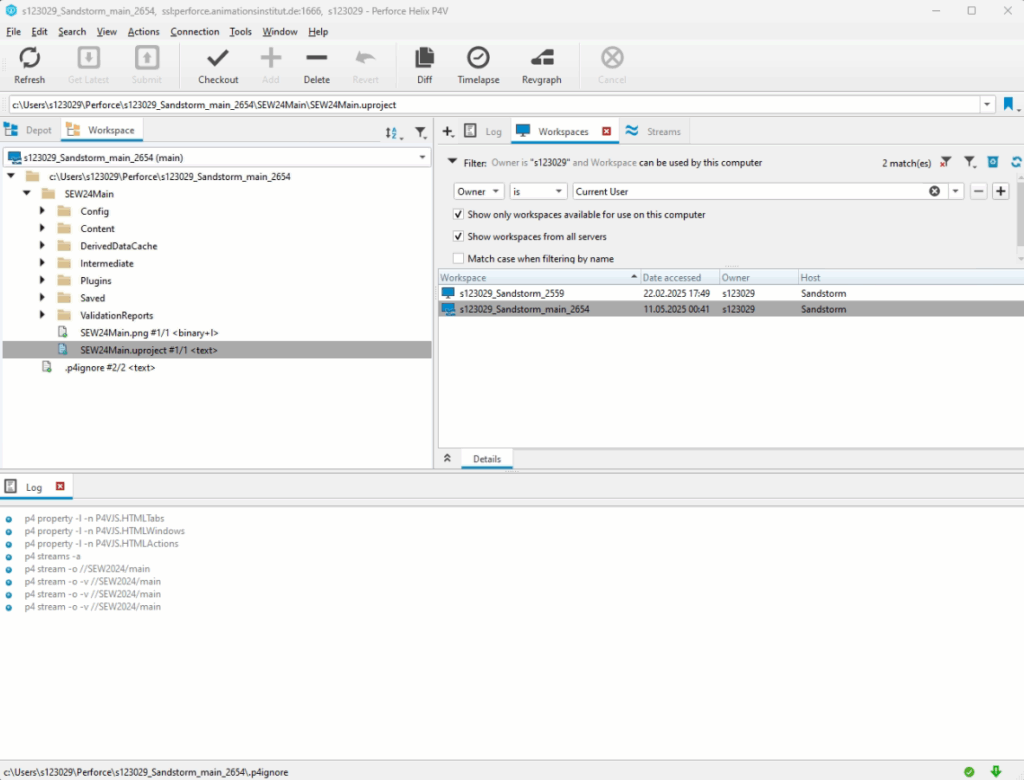
Perforce
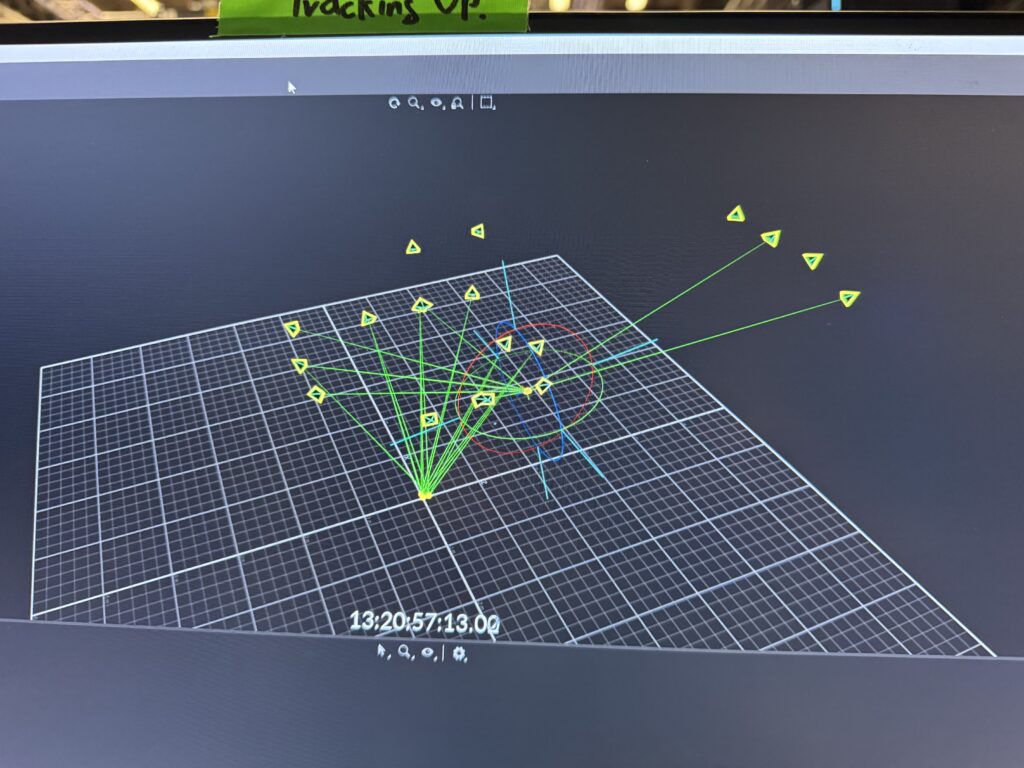
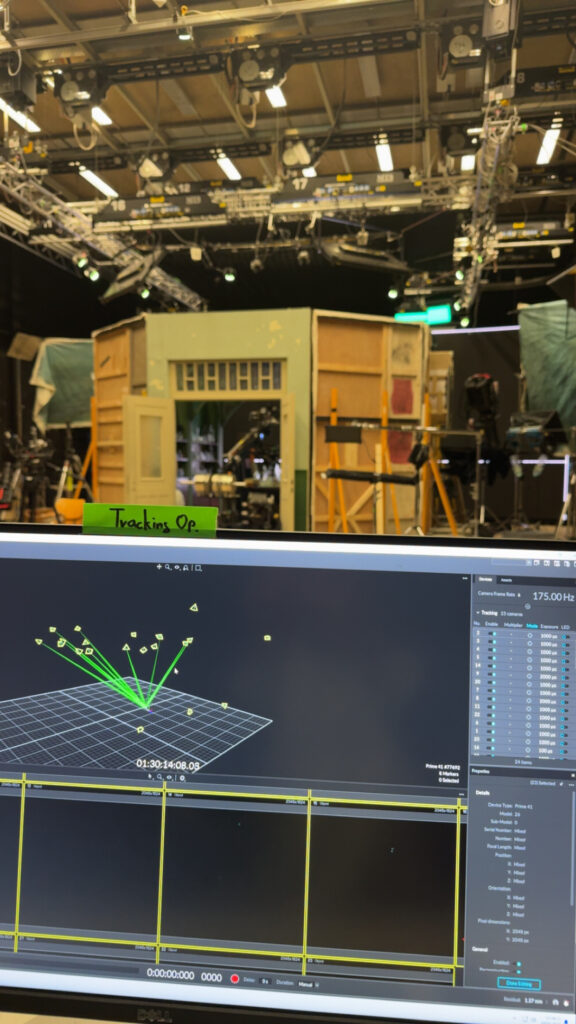
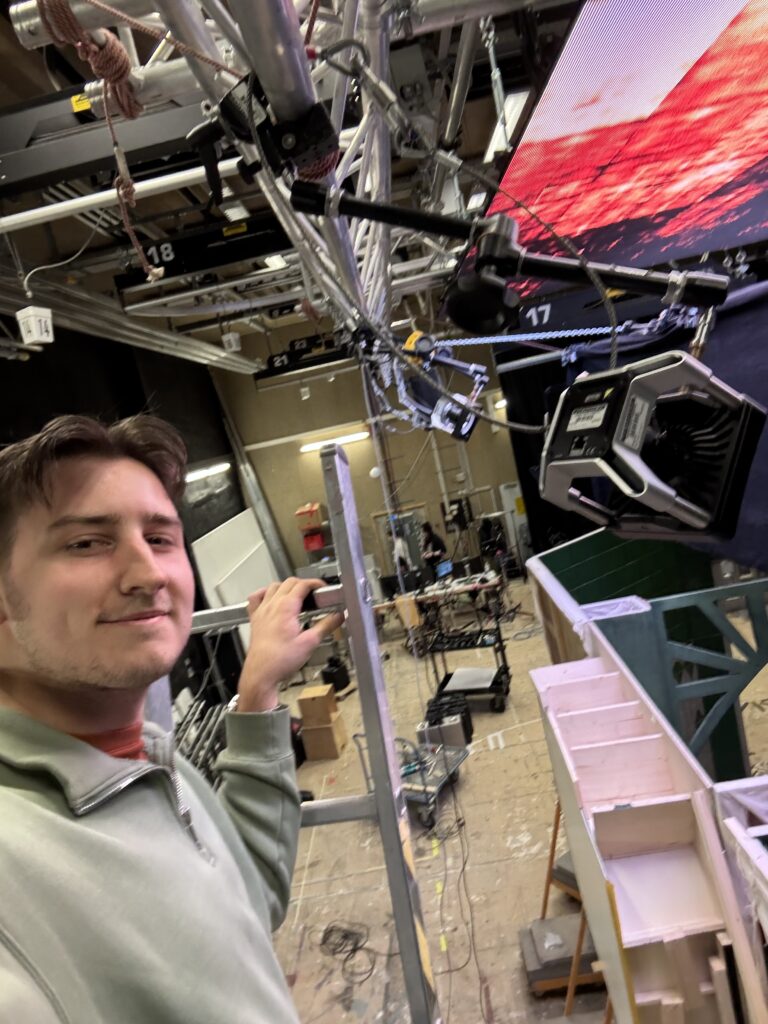
Tracking / Mocap Setup
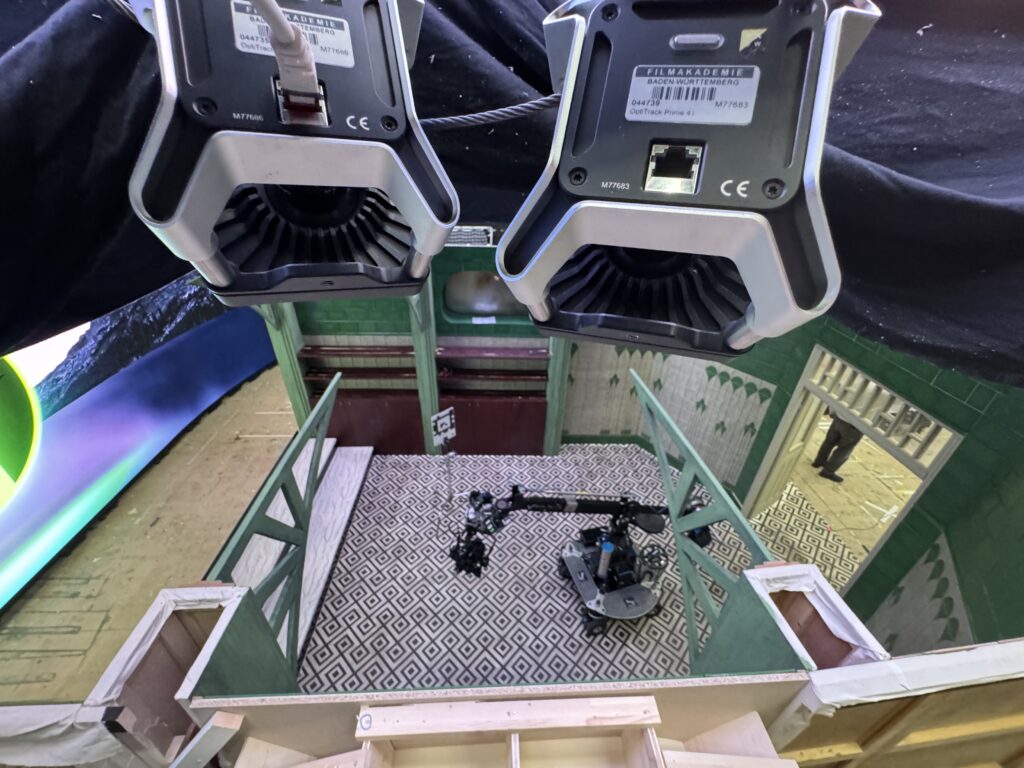
Used Optitrack Primex41 & Zeiss CinCraft Scenario
Installation & configuration of Optitrack
mounting of 24 Cameras
4 Network Switches
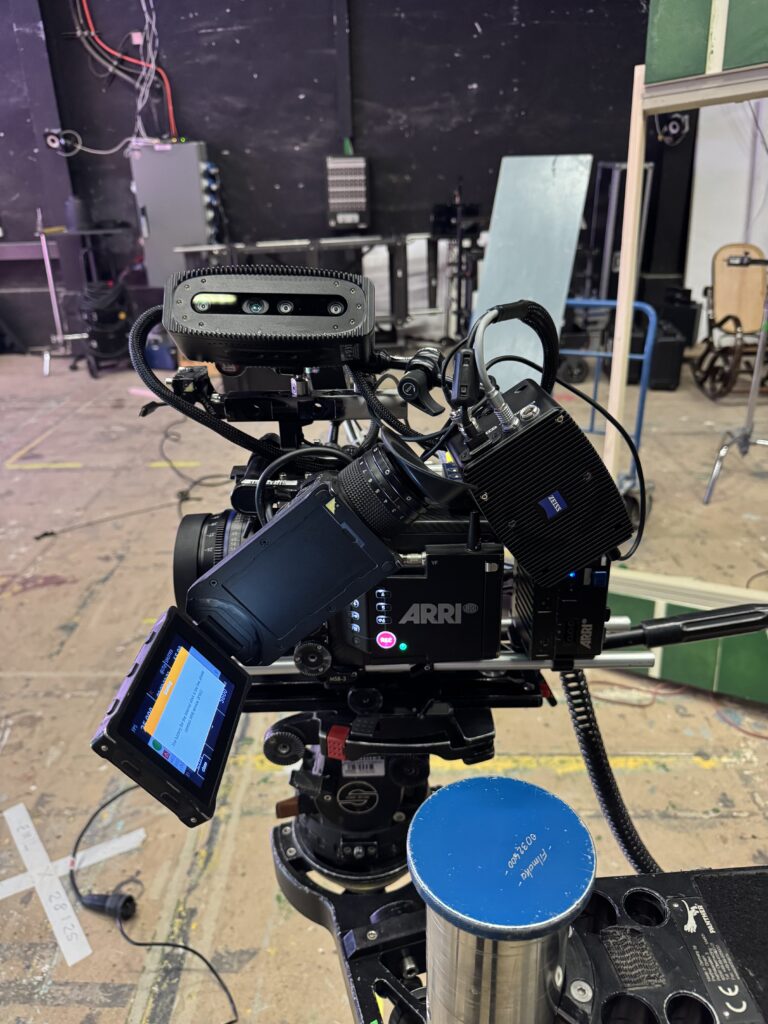
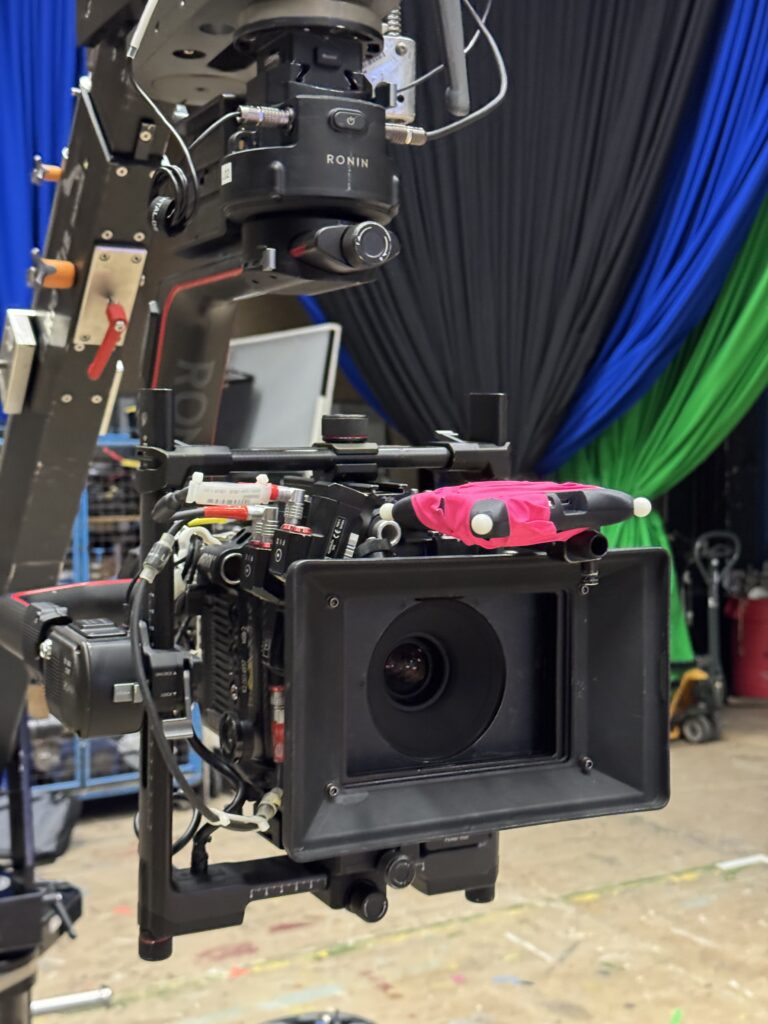
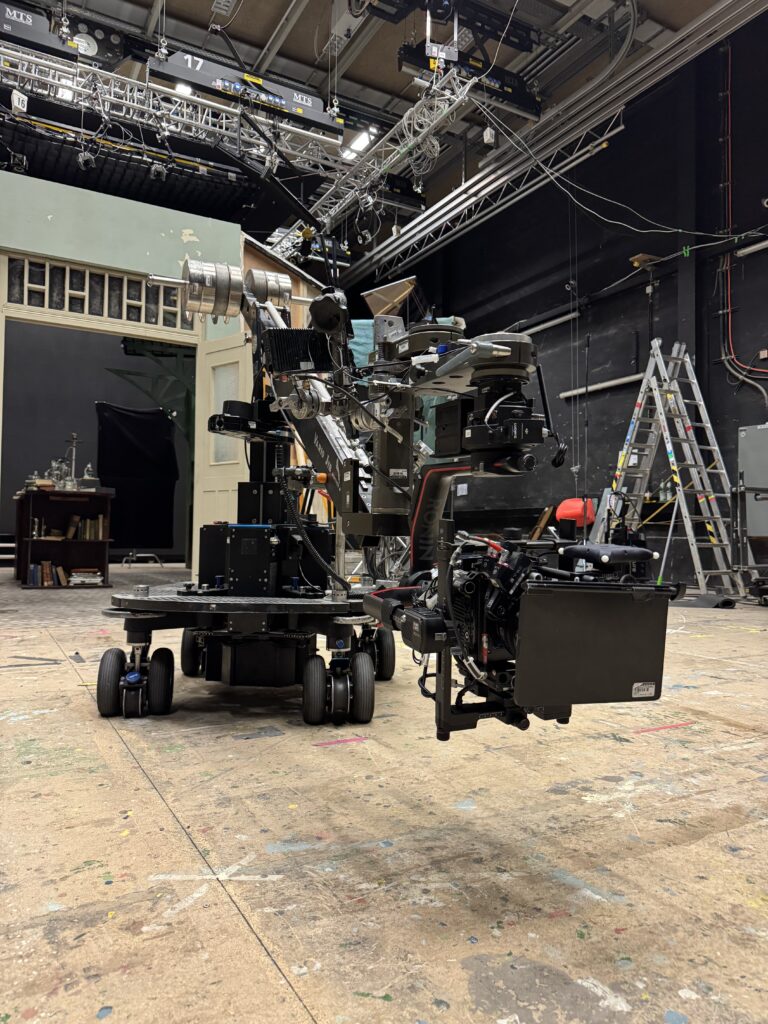
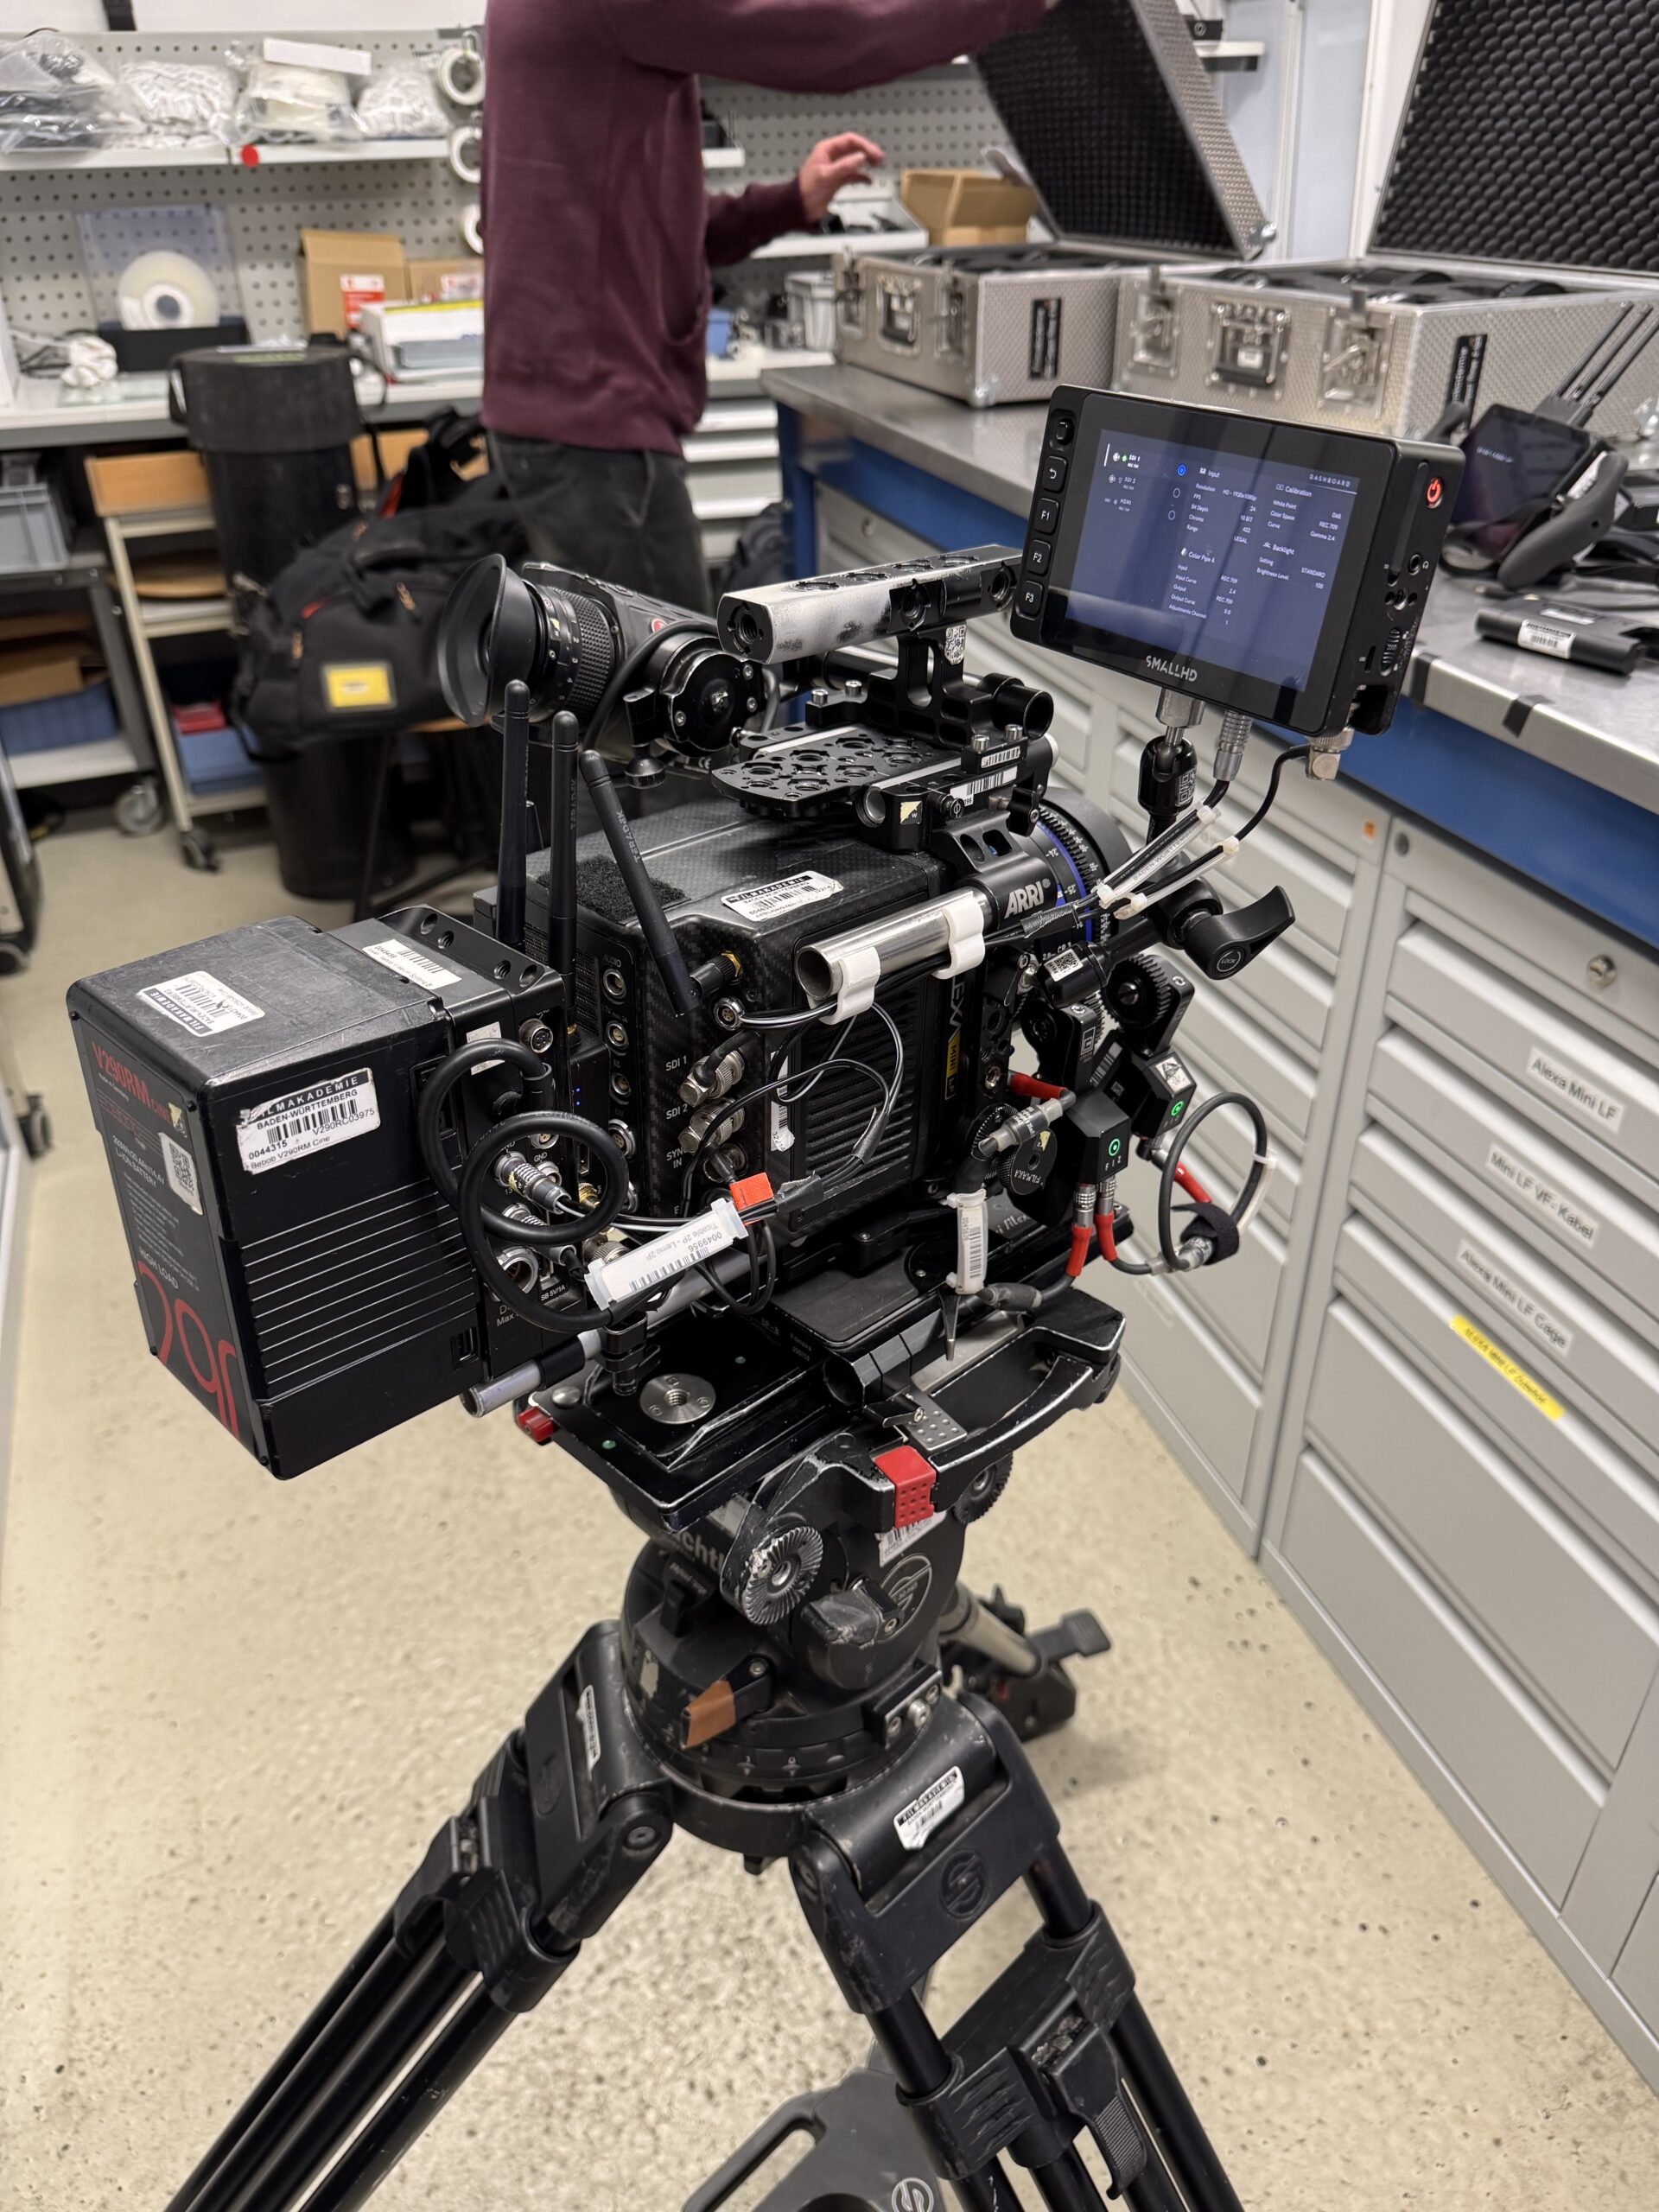
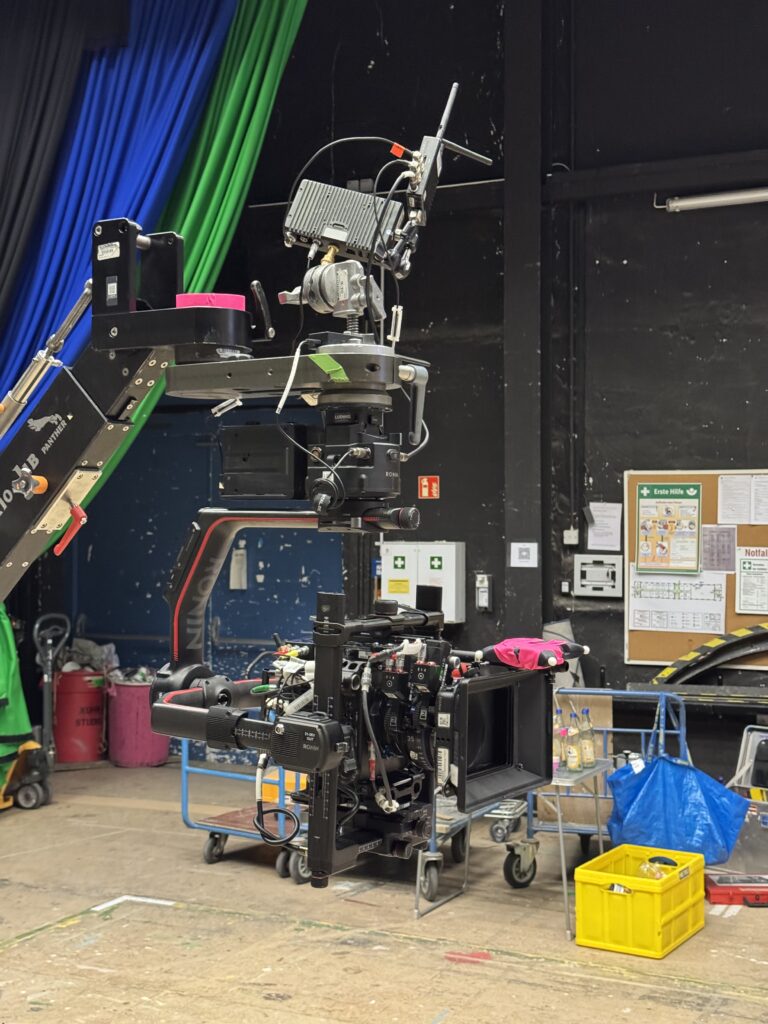
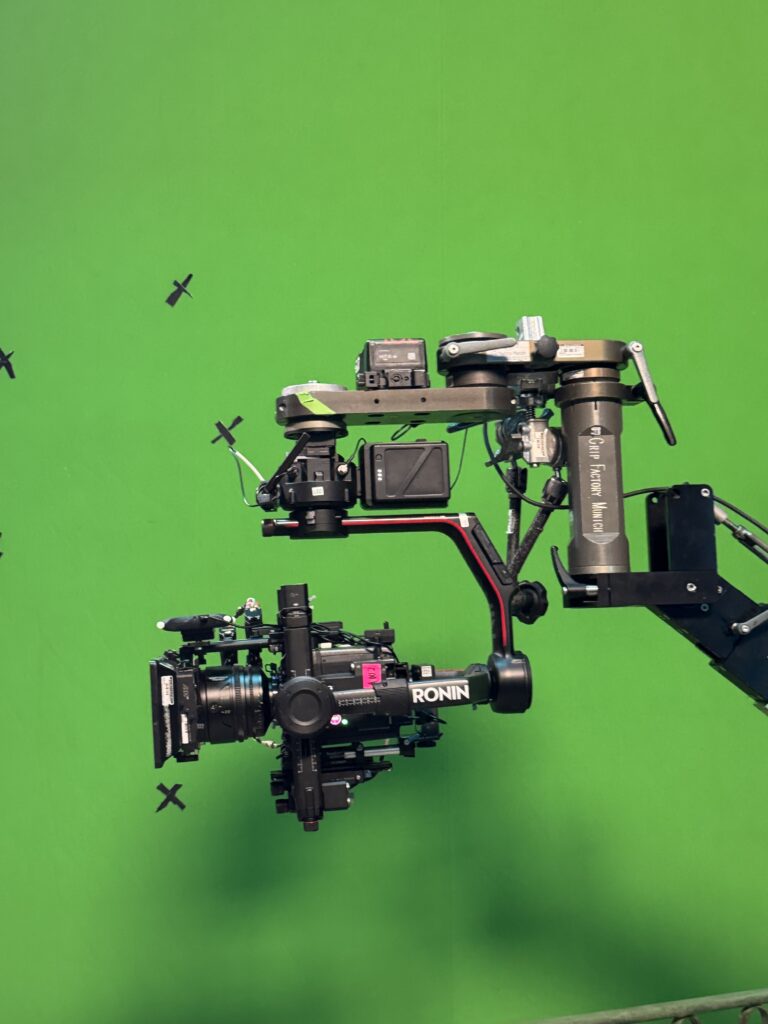
Build Camera Rig
Arri Alexa Mini LF
Teradek transmission to also ingest the signal to the Brainbar and brodcast via NDI
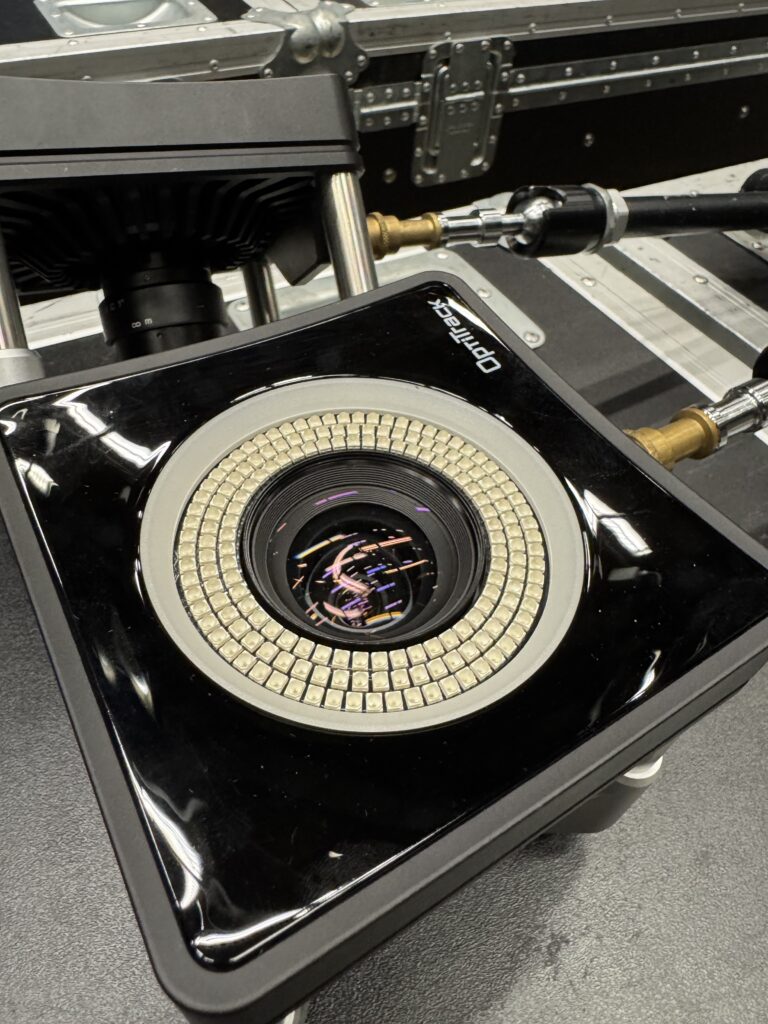
Optitrack Cinepuck
Zeiss Cinecraft rig
Other
Arri Wall calibration
Refreshrate double Signal tests
flicker tracking markers into the signal to have the wall as useful tracking region for the Zeiss Tracking system
Moiré-effect tests
Lens Defocus Simulation tests, with live lens-data from the Zeiss Tracker
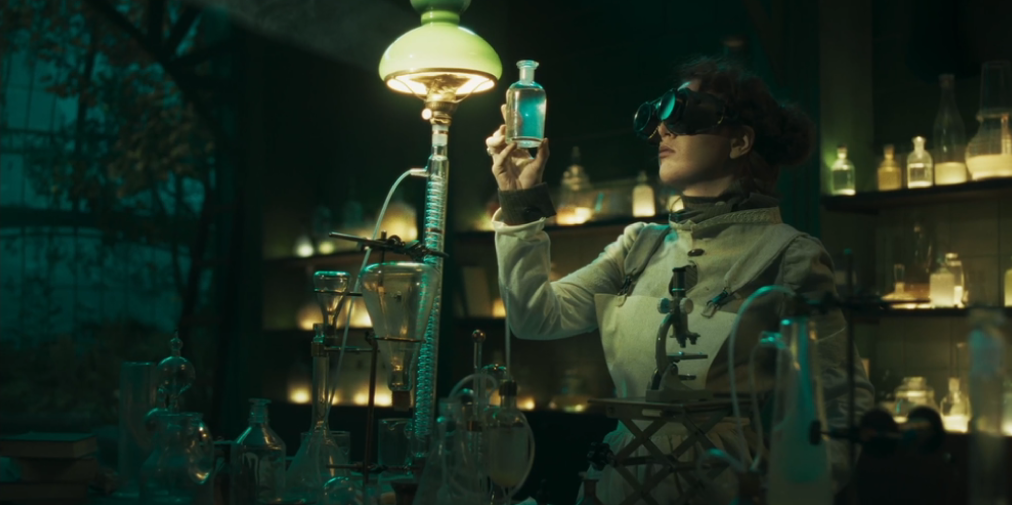
Unreal Artist
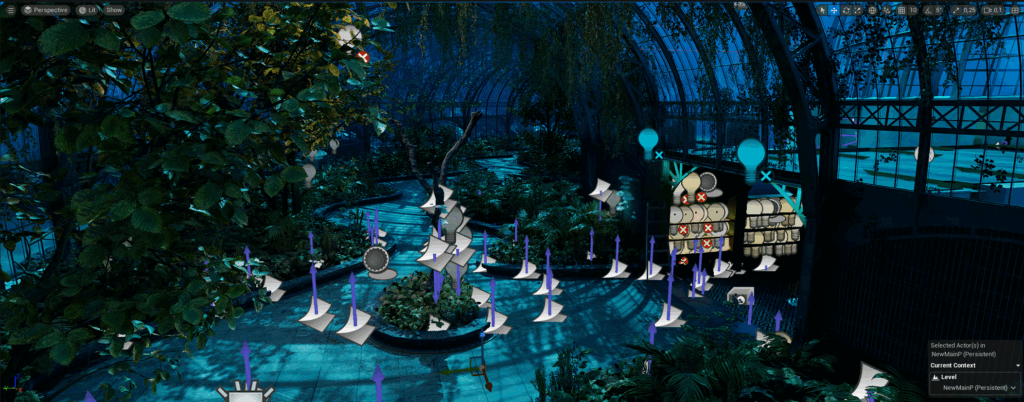
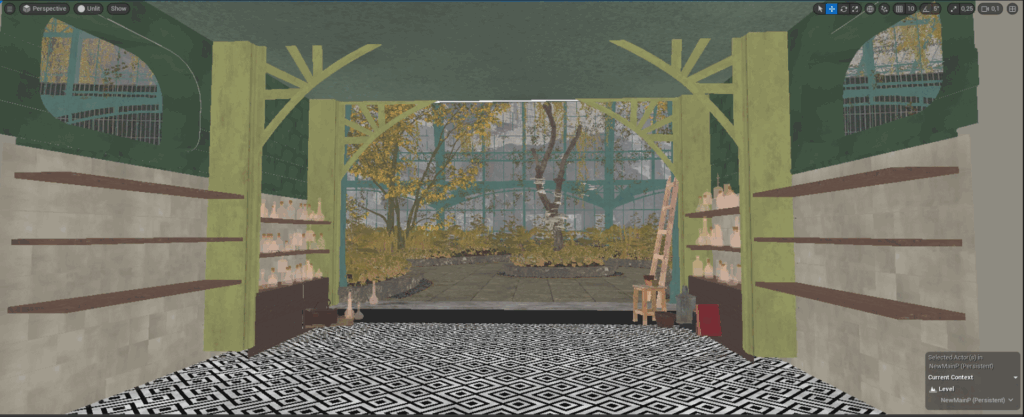
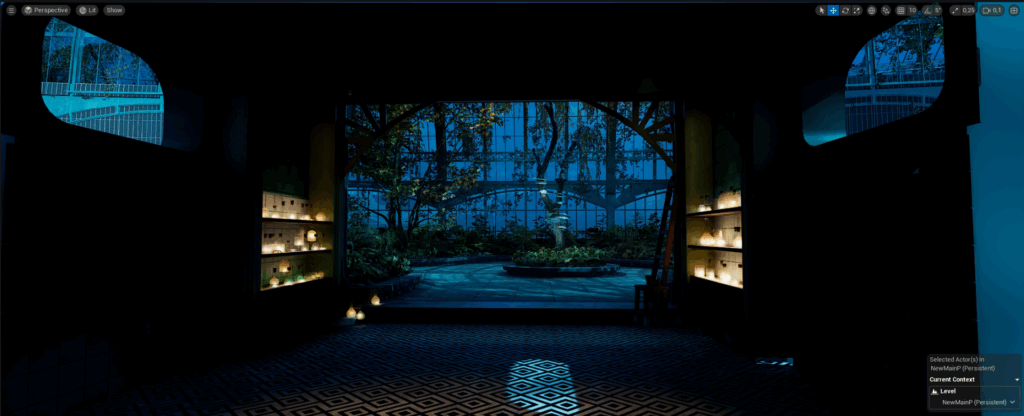
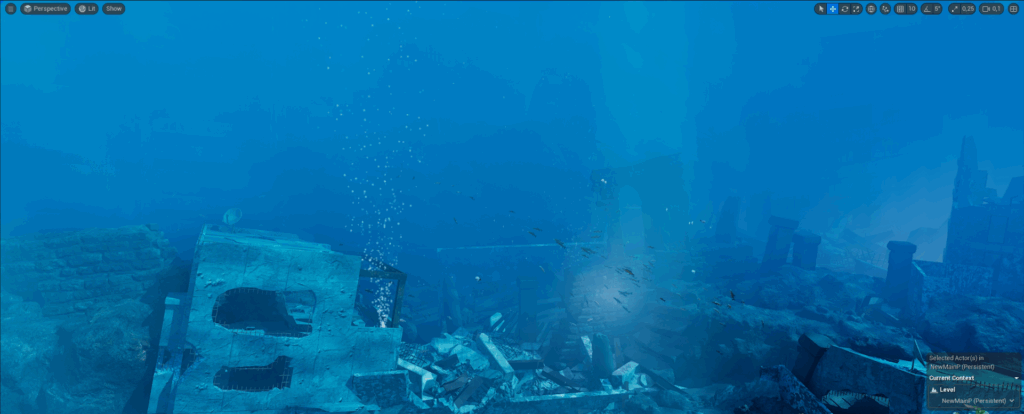
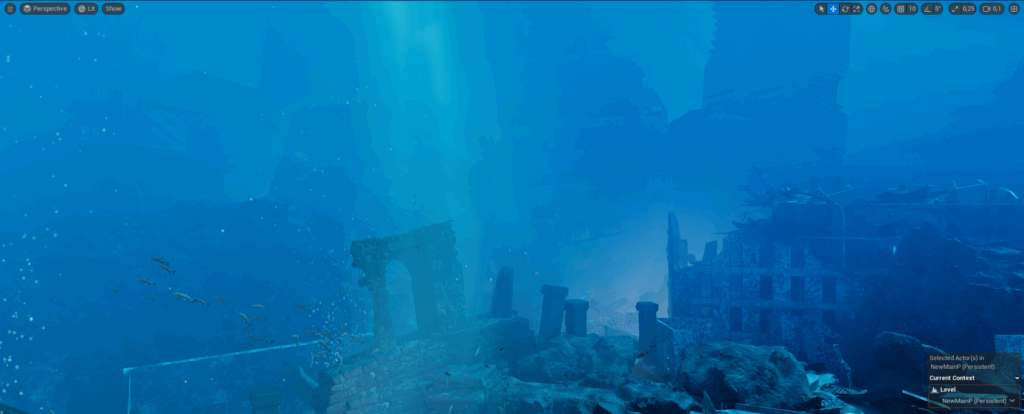
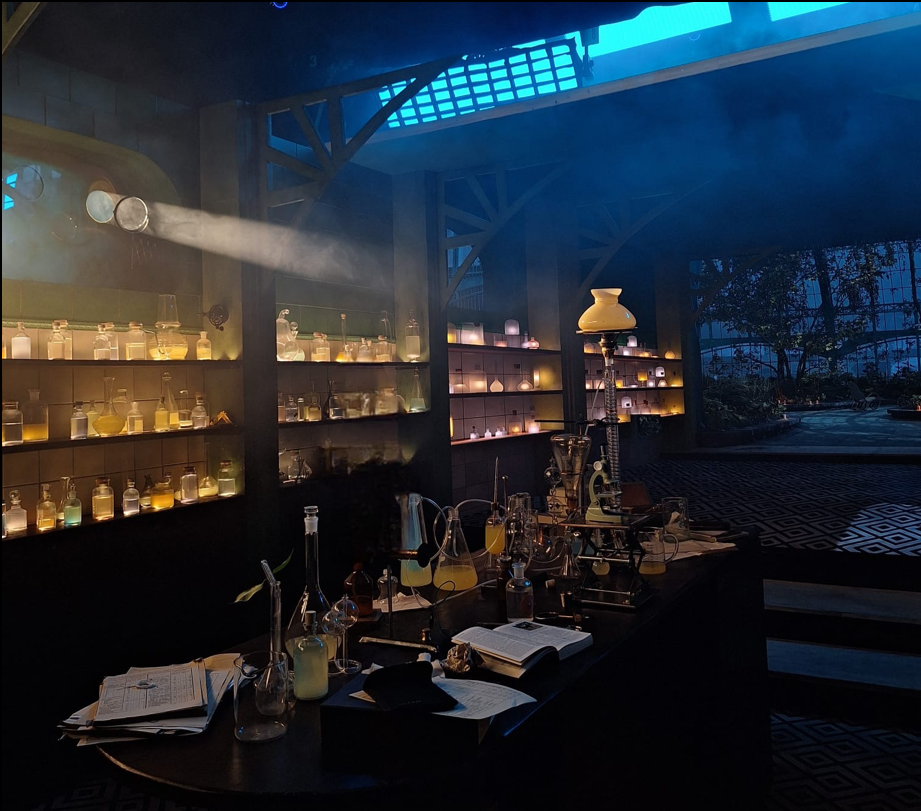
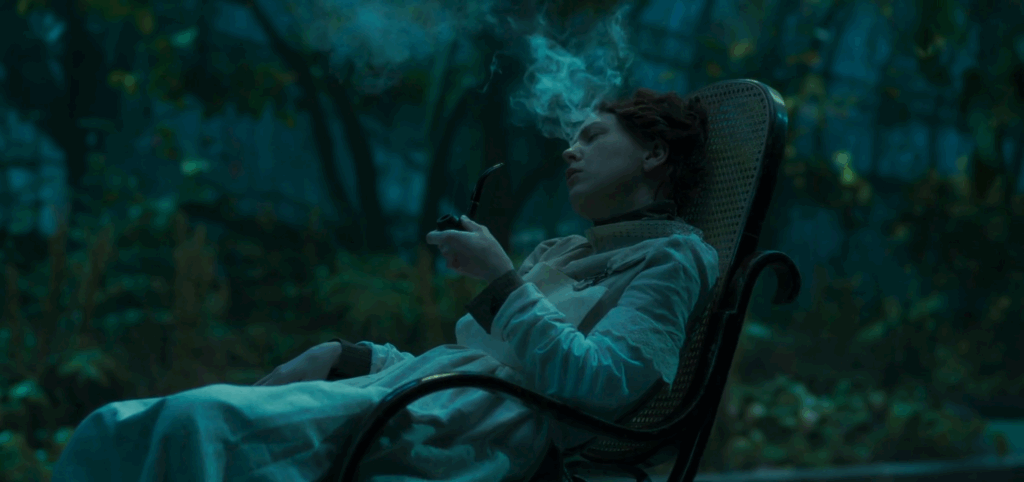
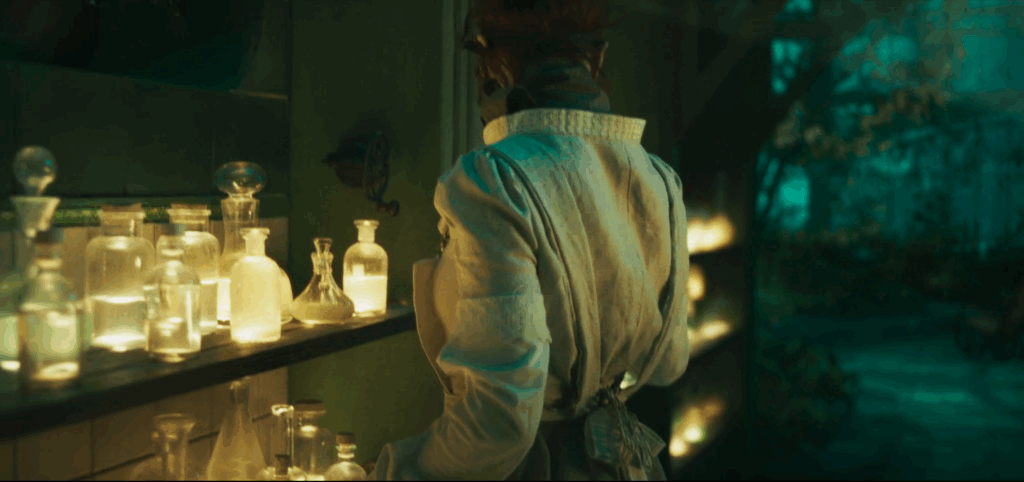
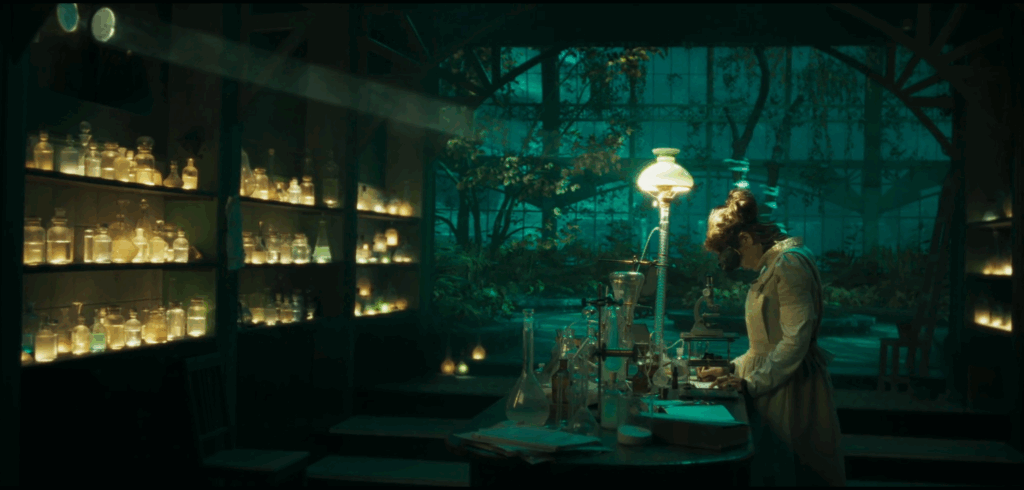
Worked on the Environment
Lighting of the Scene with lights & created light cards
Created particles system for fish swarms and bubbles
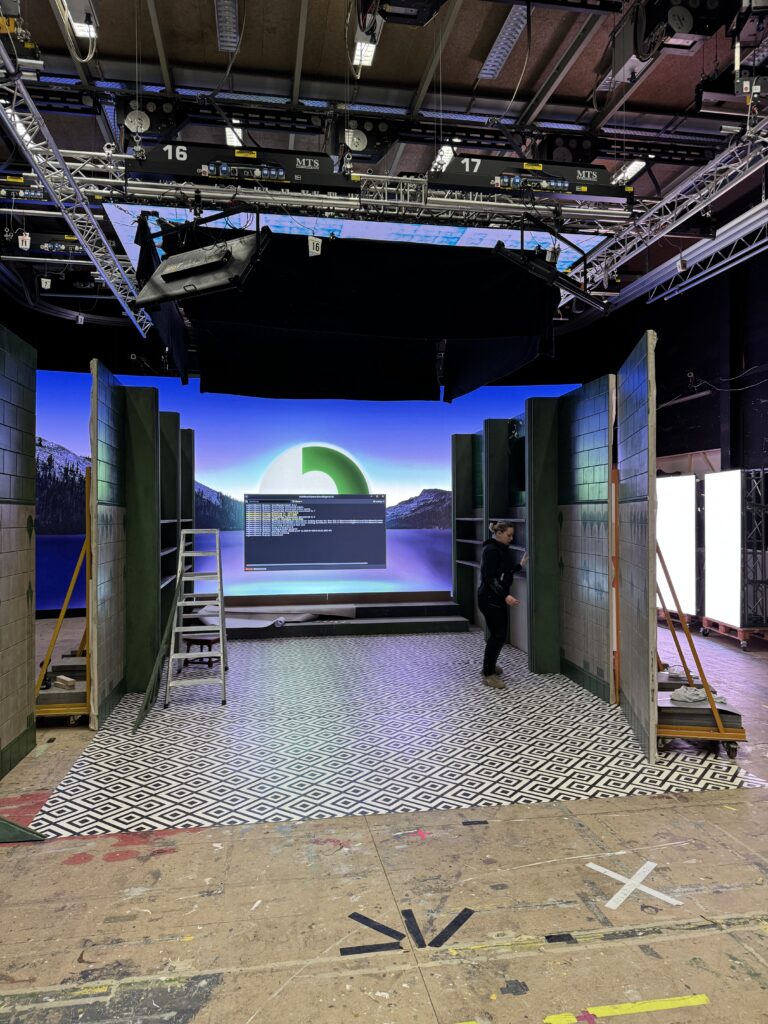
Unreal Engine Scene:
Unreal Stage Config
Split up on 2 render nodes, one node processed the main wall, the second processed the top wall as well as the 2 side panels
Perforce
For the project, we used perforce as version control system
Camera Rig:
I had the opportunity to use both systems, inside out and outside in tracking. For the inside out I had the chance to work with the new Zeiss CinCraft Scenario tracking system, which is a stereo optical tracker with IR. The other system was Optitrack. For the shoot we decided to use Optitrack, since it was a more reliable option for us. More in detail about that soon.
Tracking
24 Optitrack Primex 41 Cameras aswell as the active-puck on the arri rig. With tracking in Motive, the tracking-data then was streamlined through Live-Link to unreal engine. The takes were also recorded to later on use that data for post work.
Merging the sets
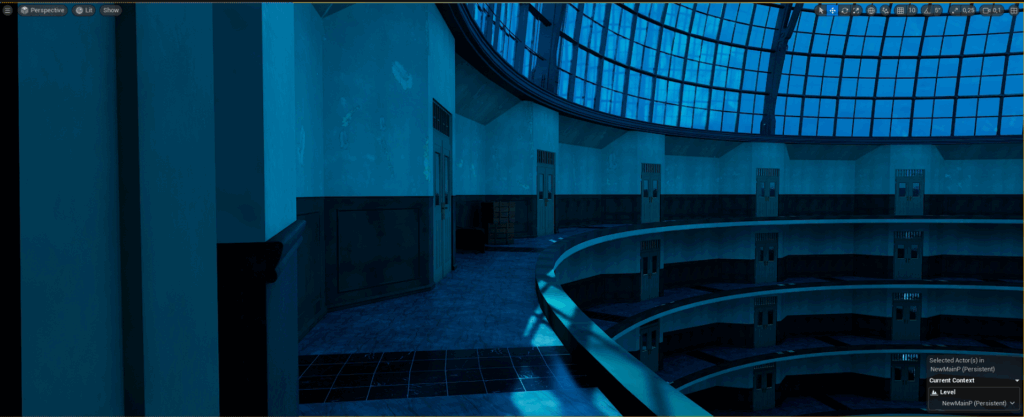
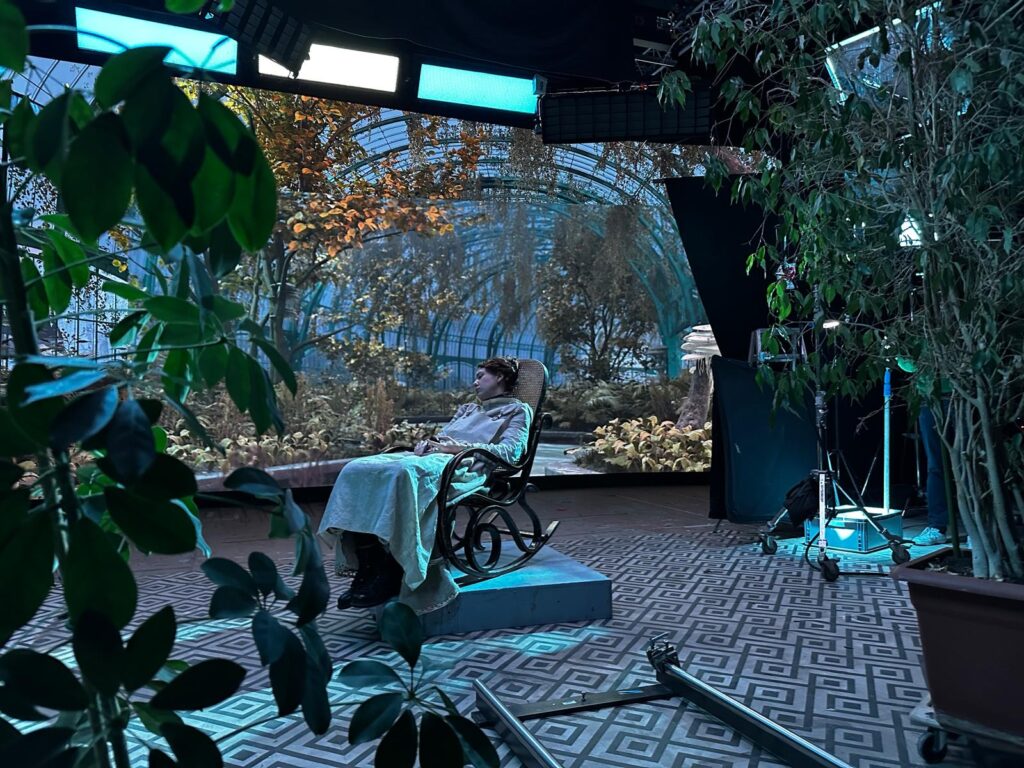
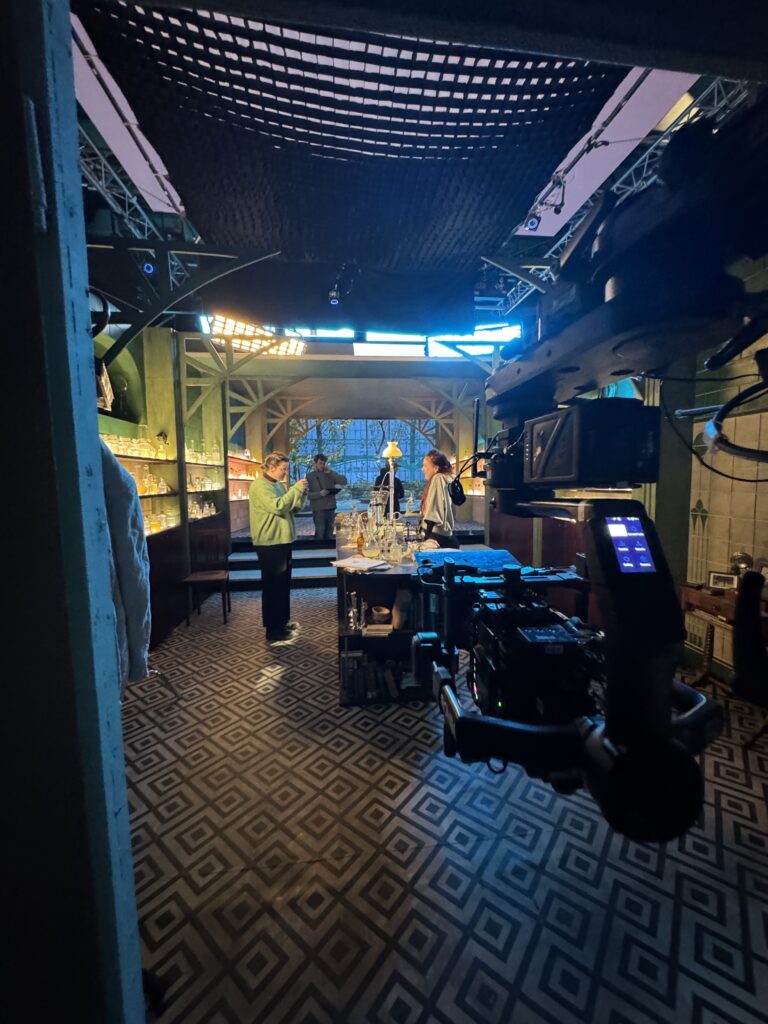
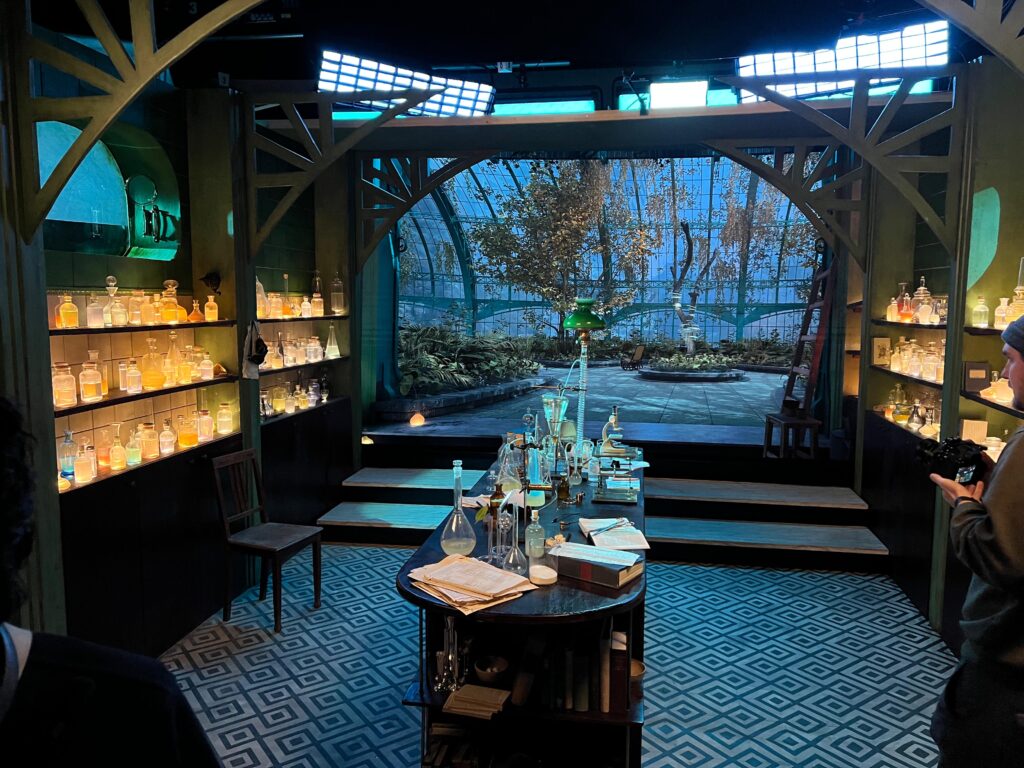
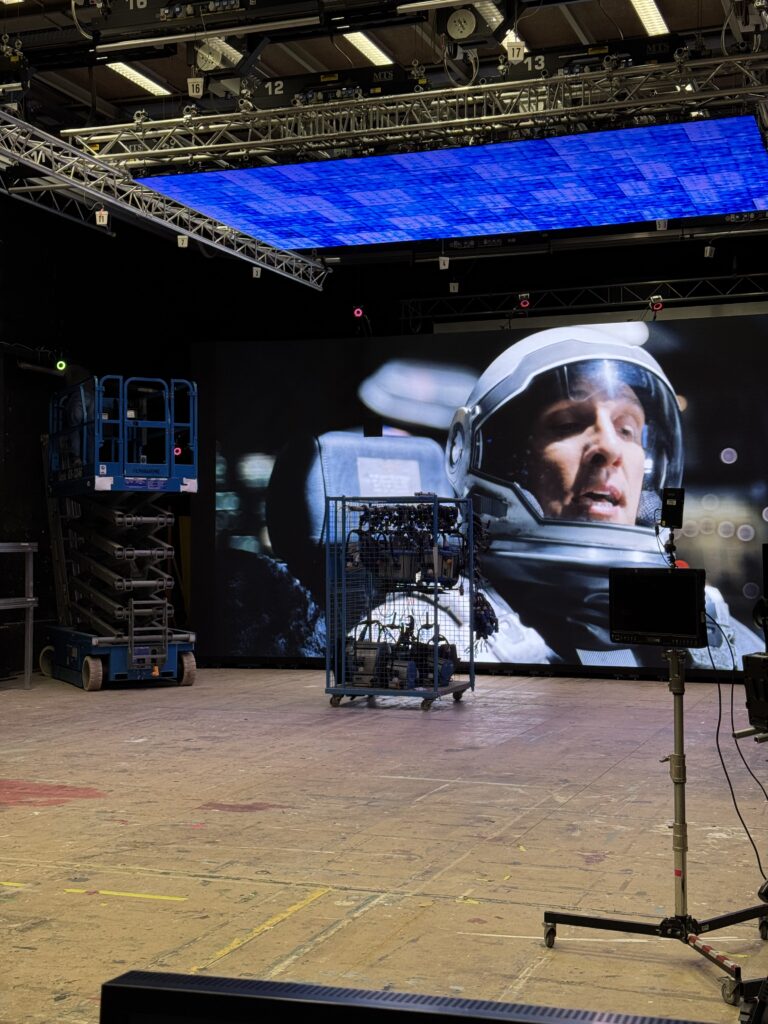
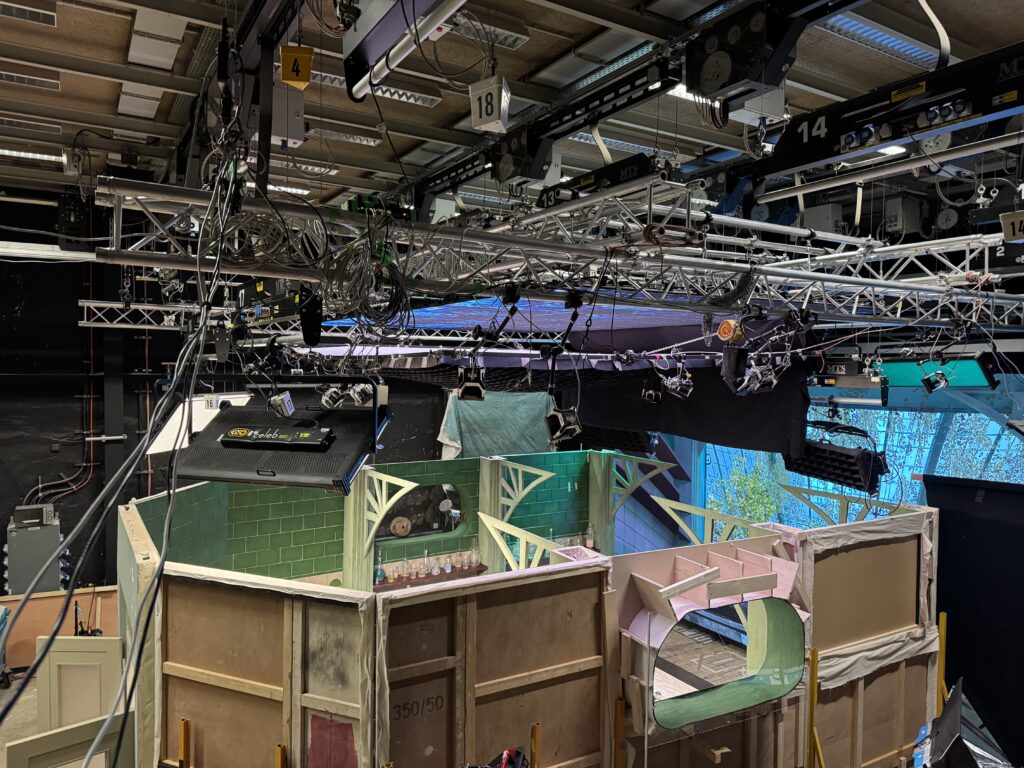
integration of the physical and digital environments using color correction regions and ARRI calibration for visual consistency. aligned physical and virtual elements, also with lidar scans of the real set and wall, for accurate perspective and balanced lighting for natural interactions.
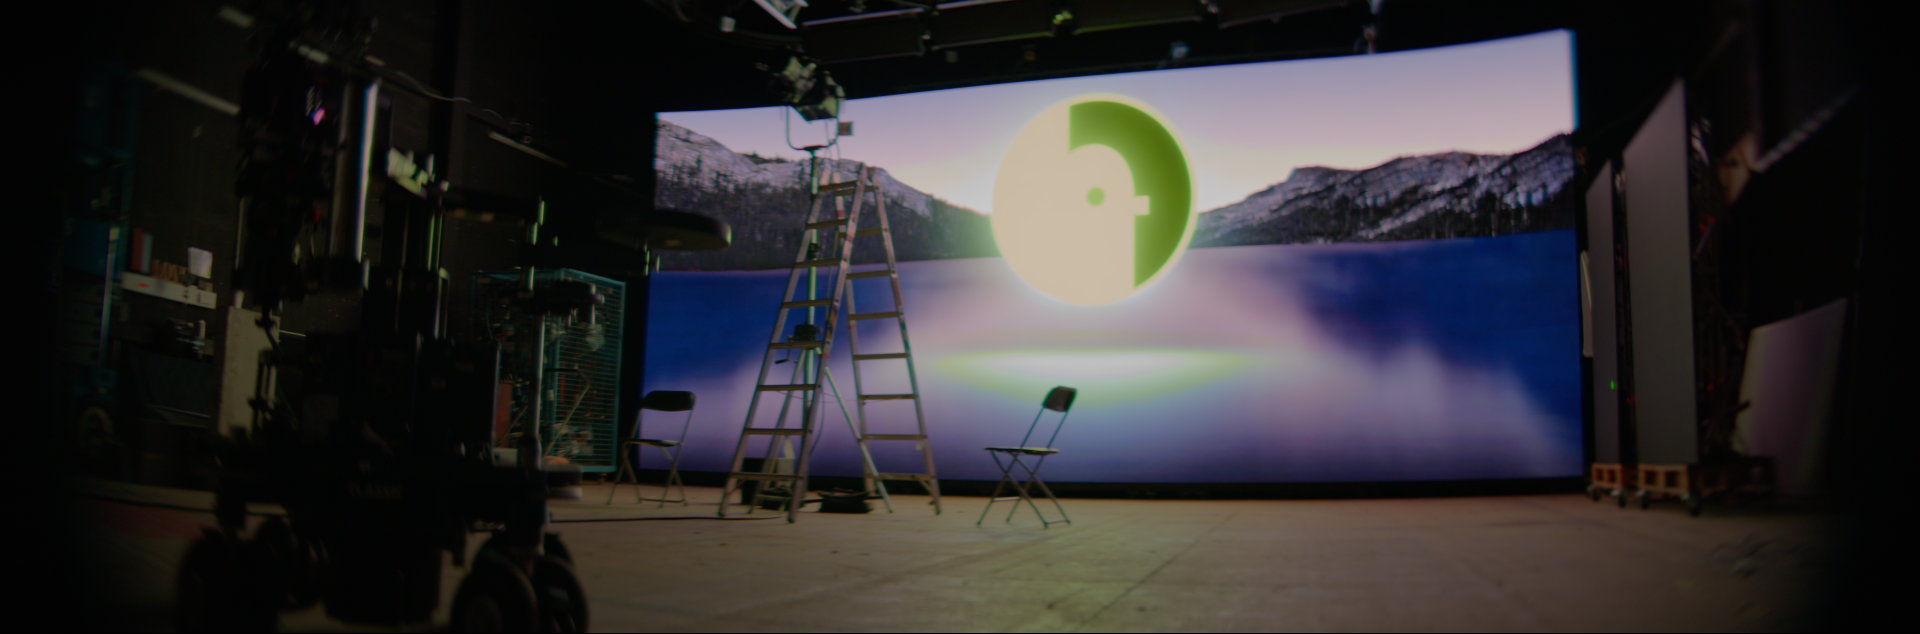
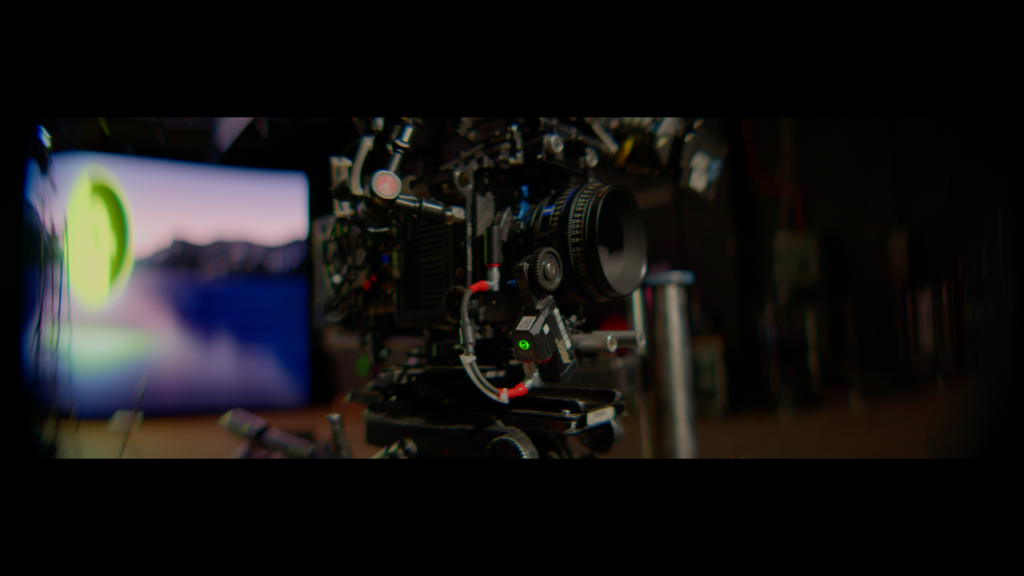
Final Result
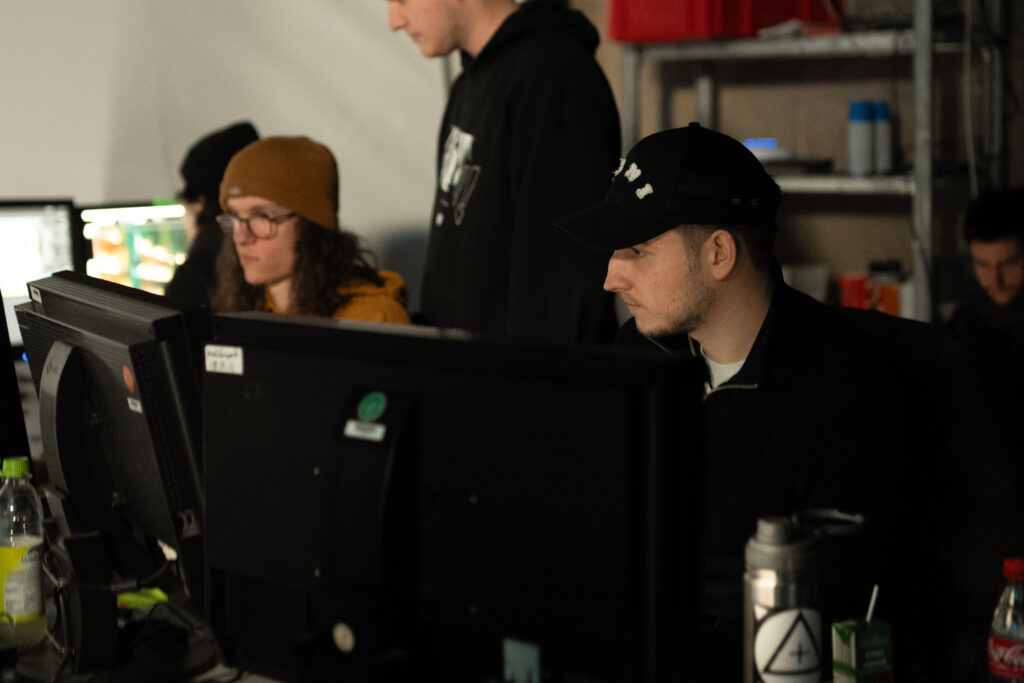
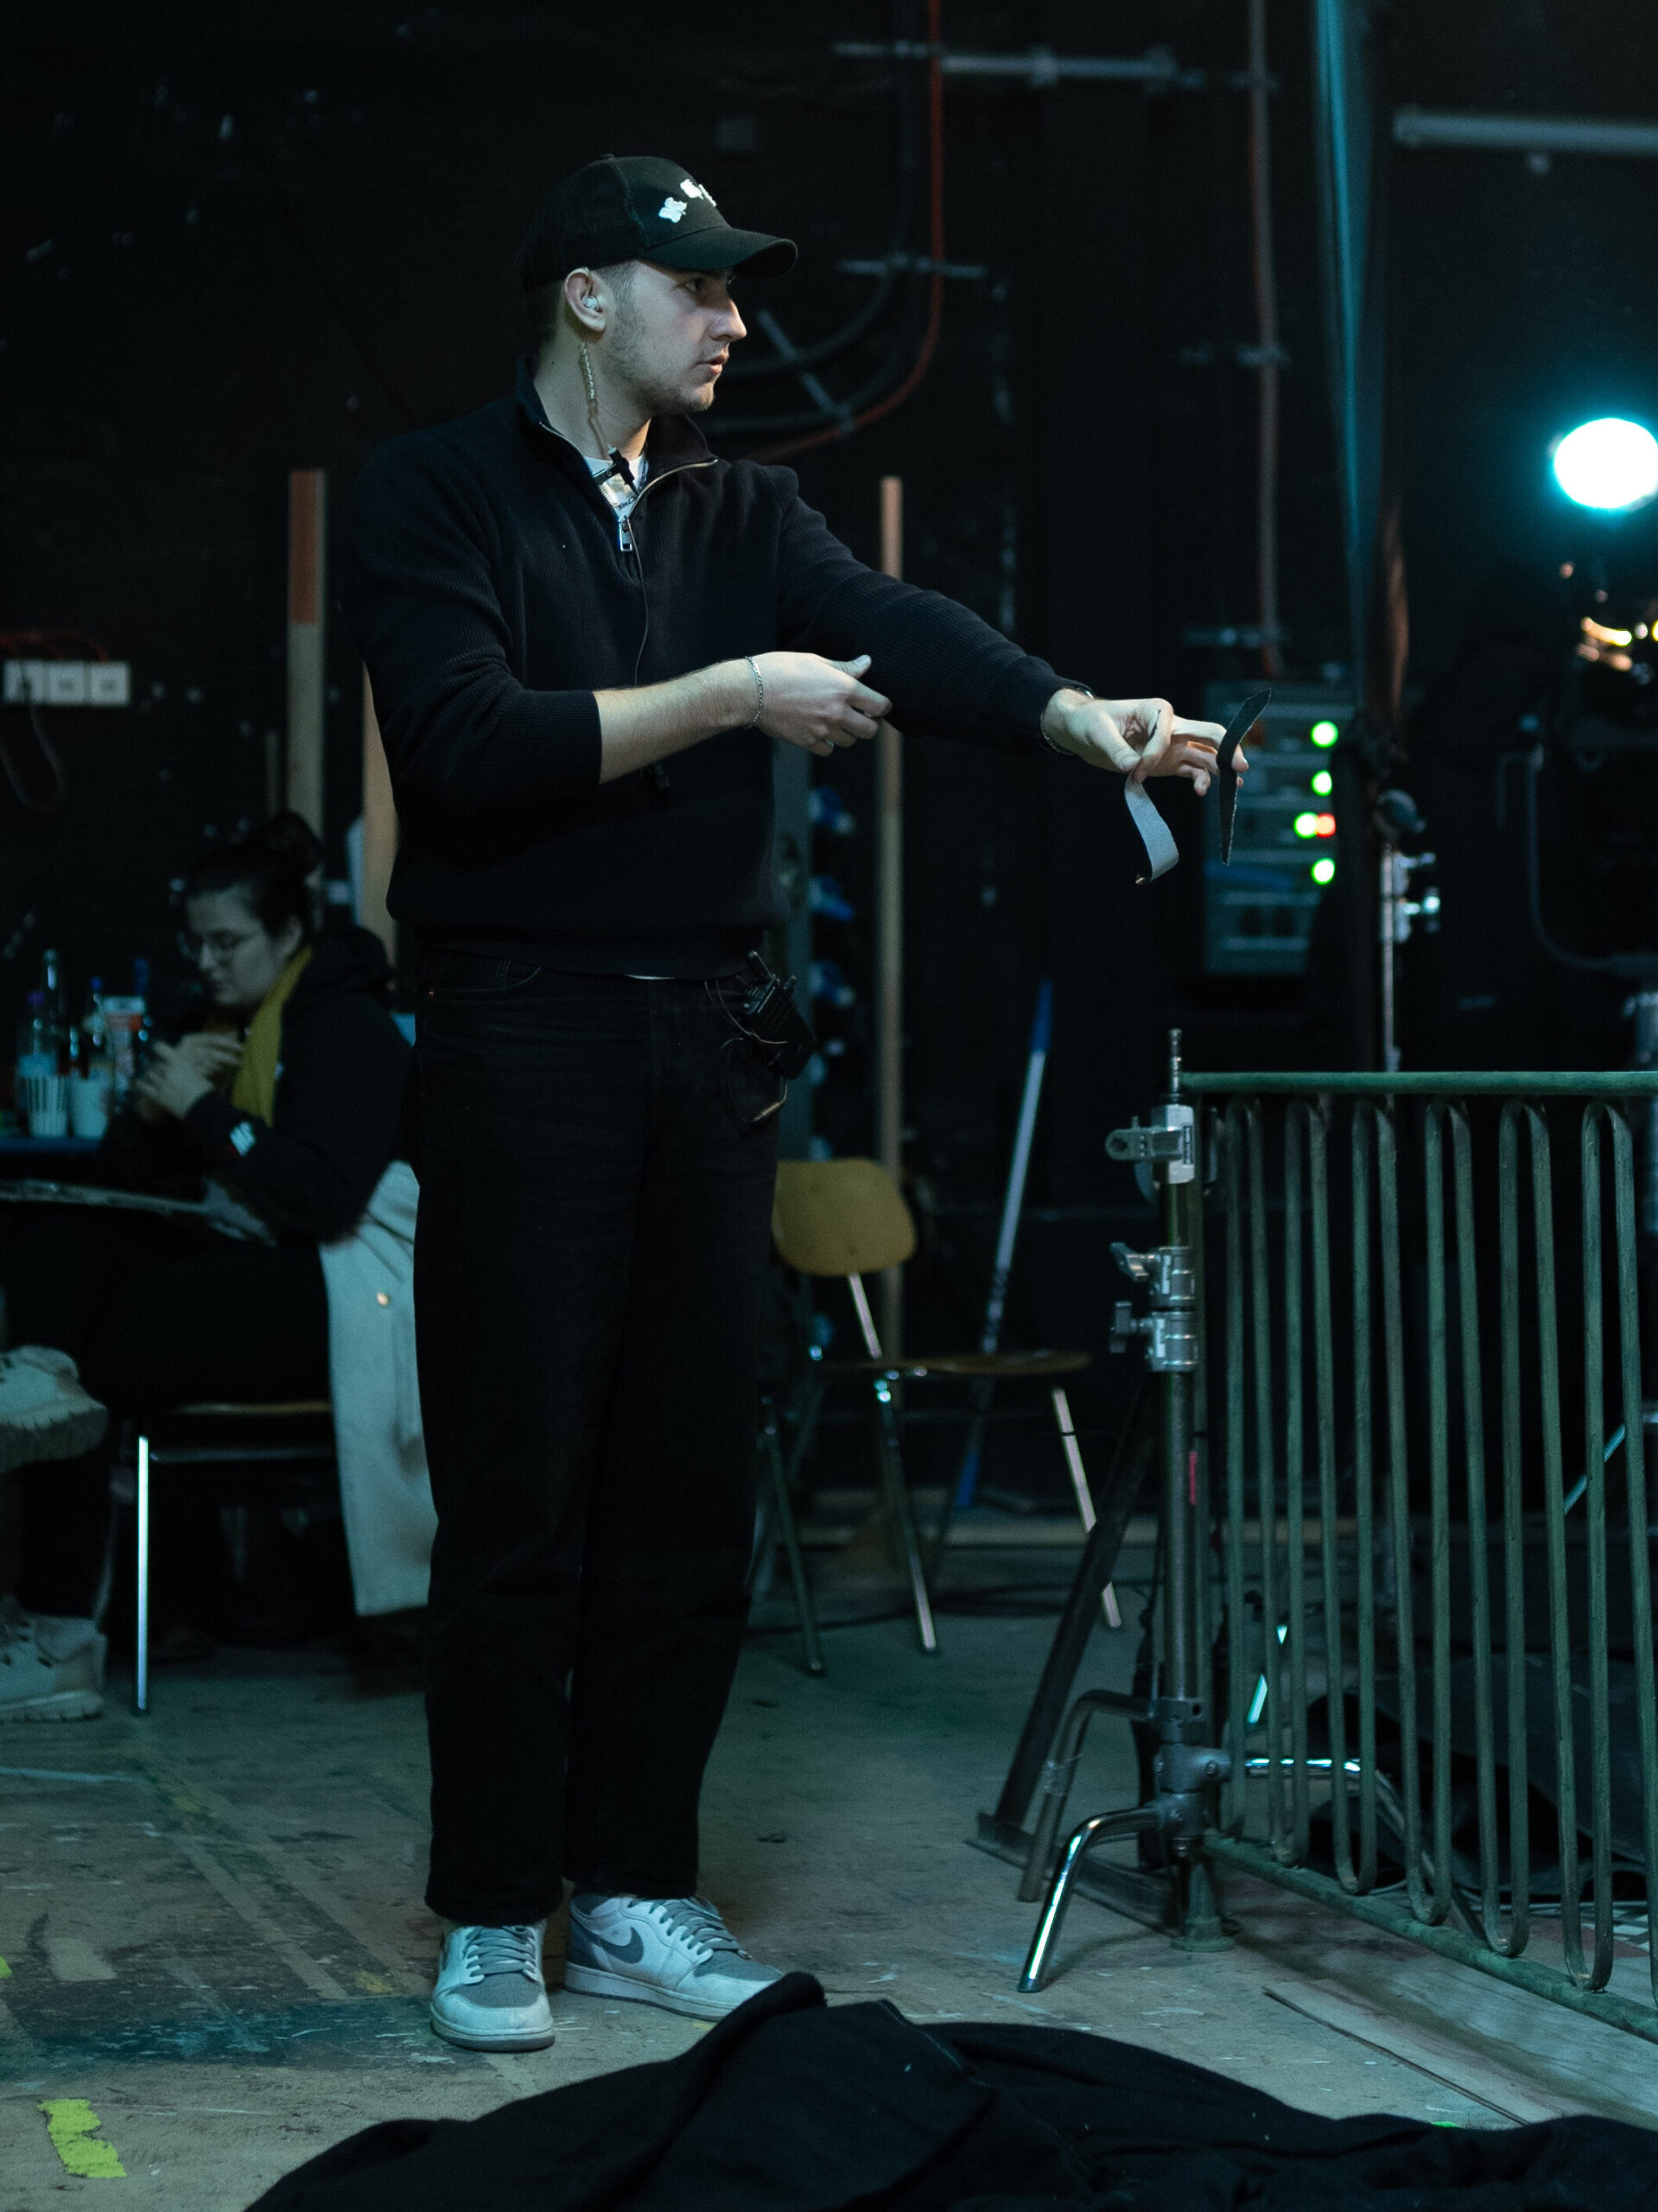
VP-Operation on shoot
One of the main challenges as the VP Operator was maintaining smooth real-time performance on set while adapting quickly to creative and technical changes. Good communication with all departments—especially Unreal artists—was essential to troubleshoot issues fast, implement last-minute adjustments, and keep the production running efficiently. A deep understanding of the technology, scene optimization, and performance monitoring were crucial to support creative decisions and ensure everything worked seamlessly.
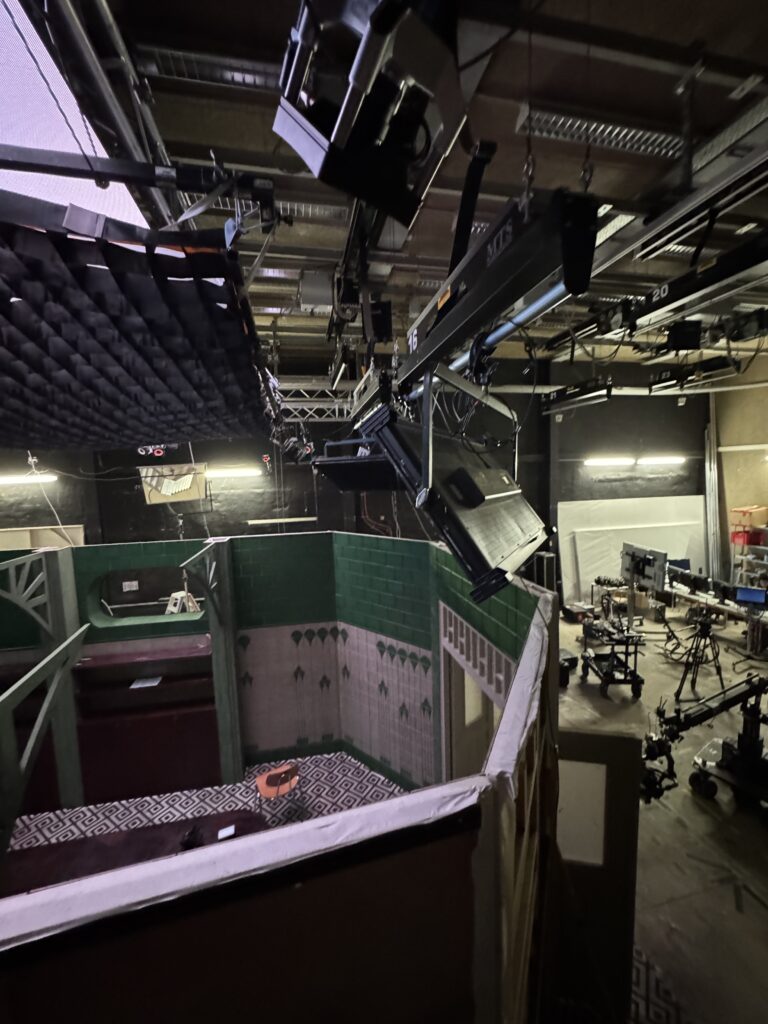
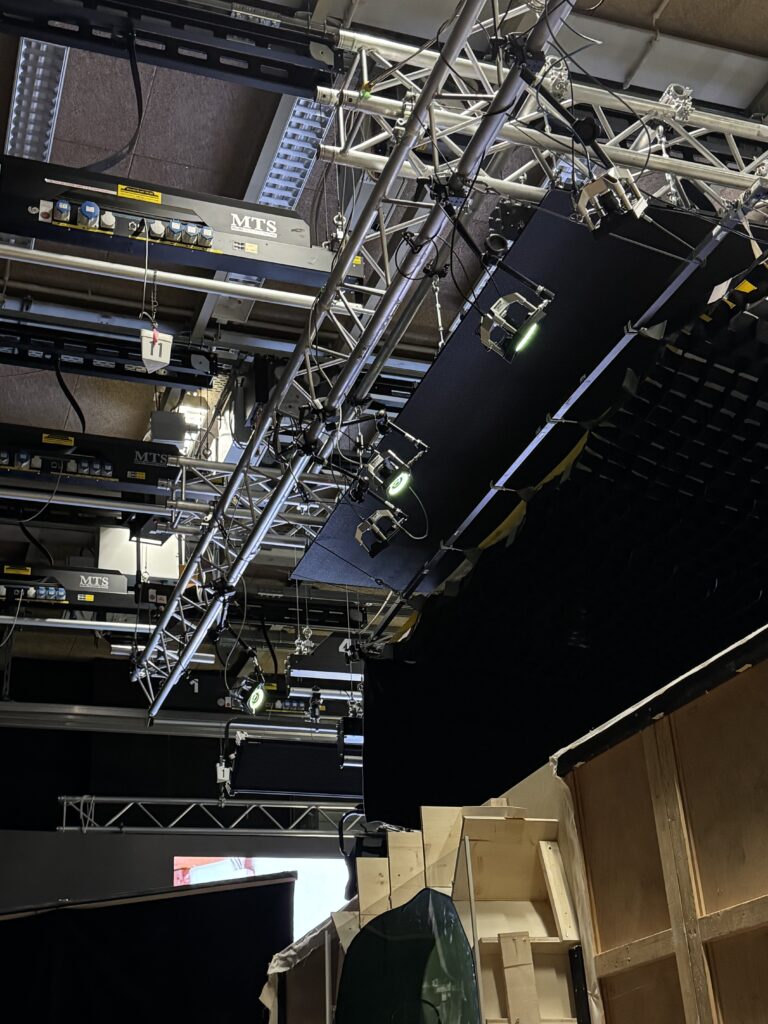
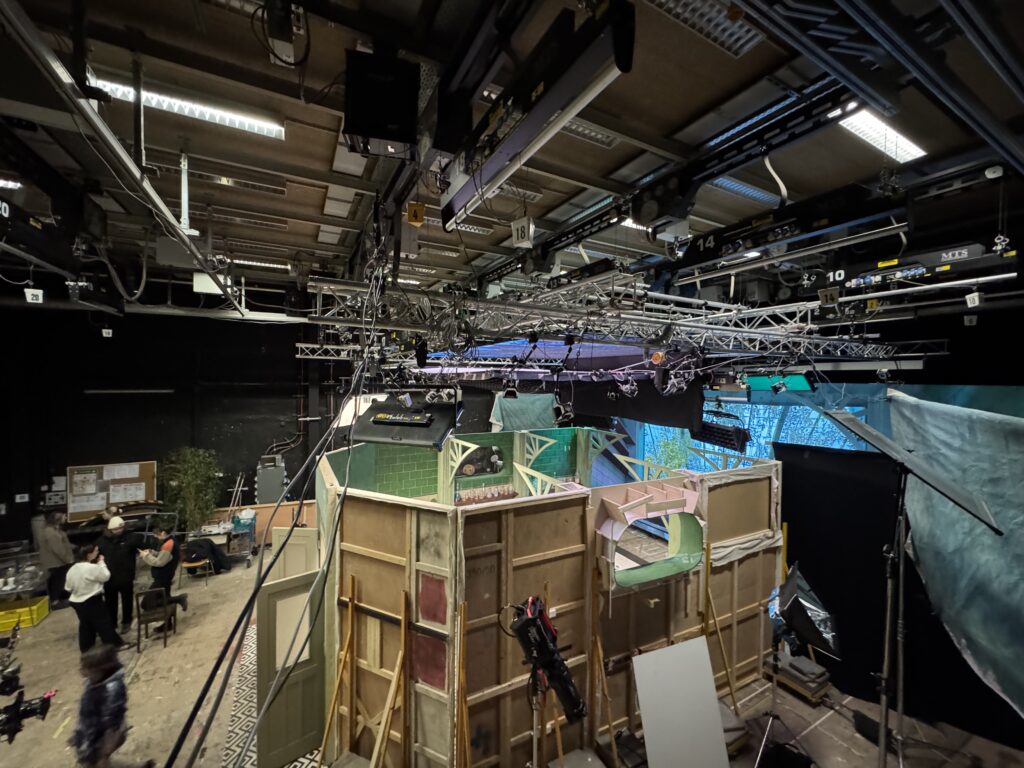
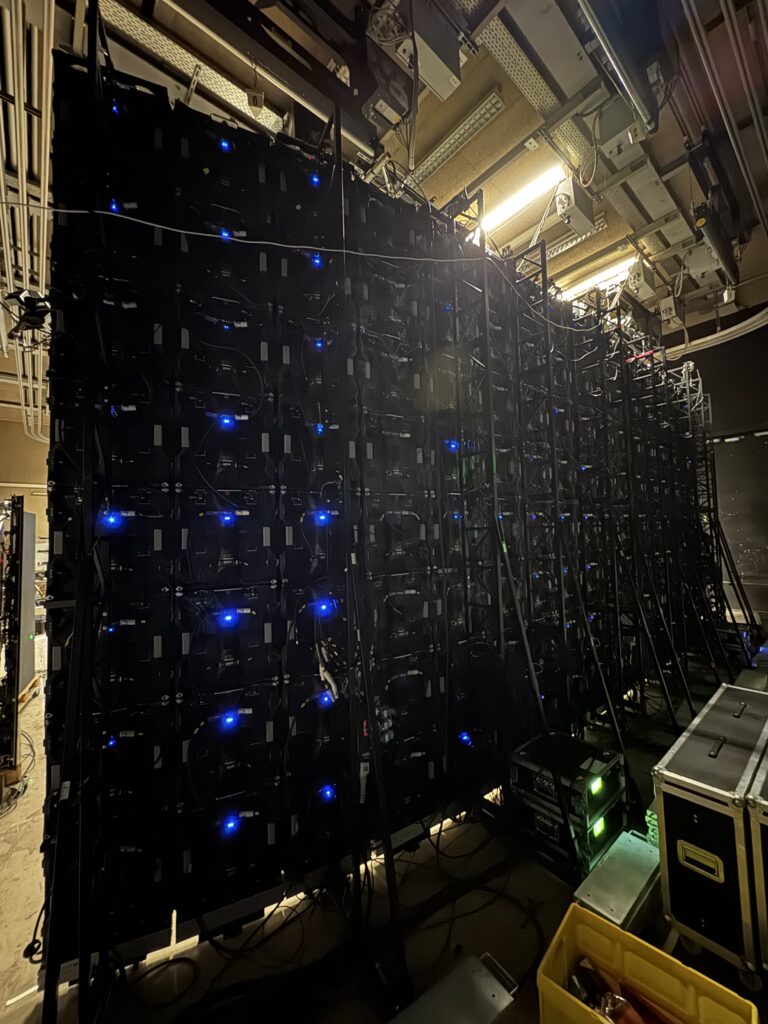
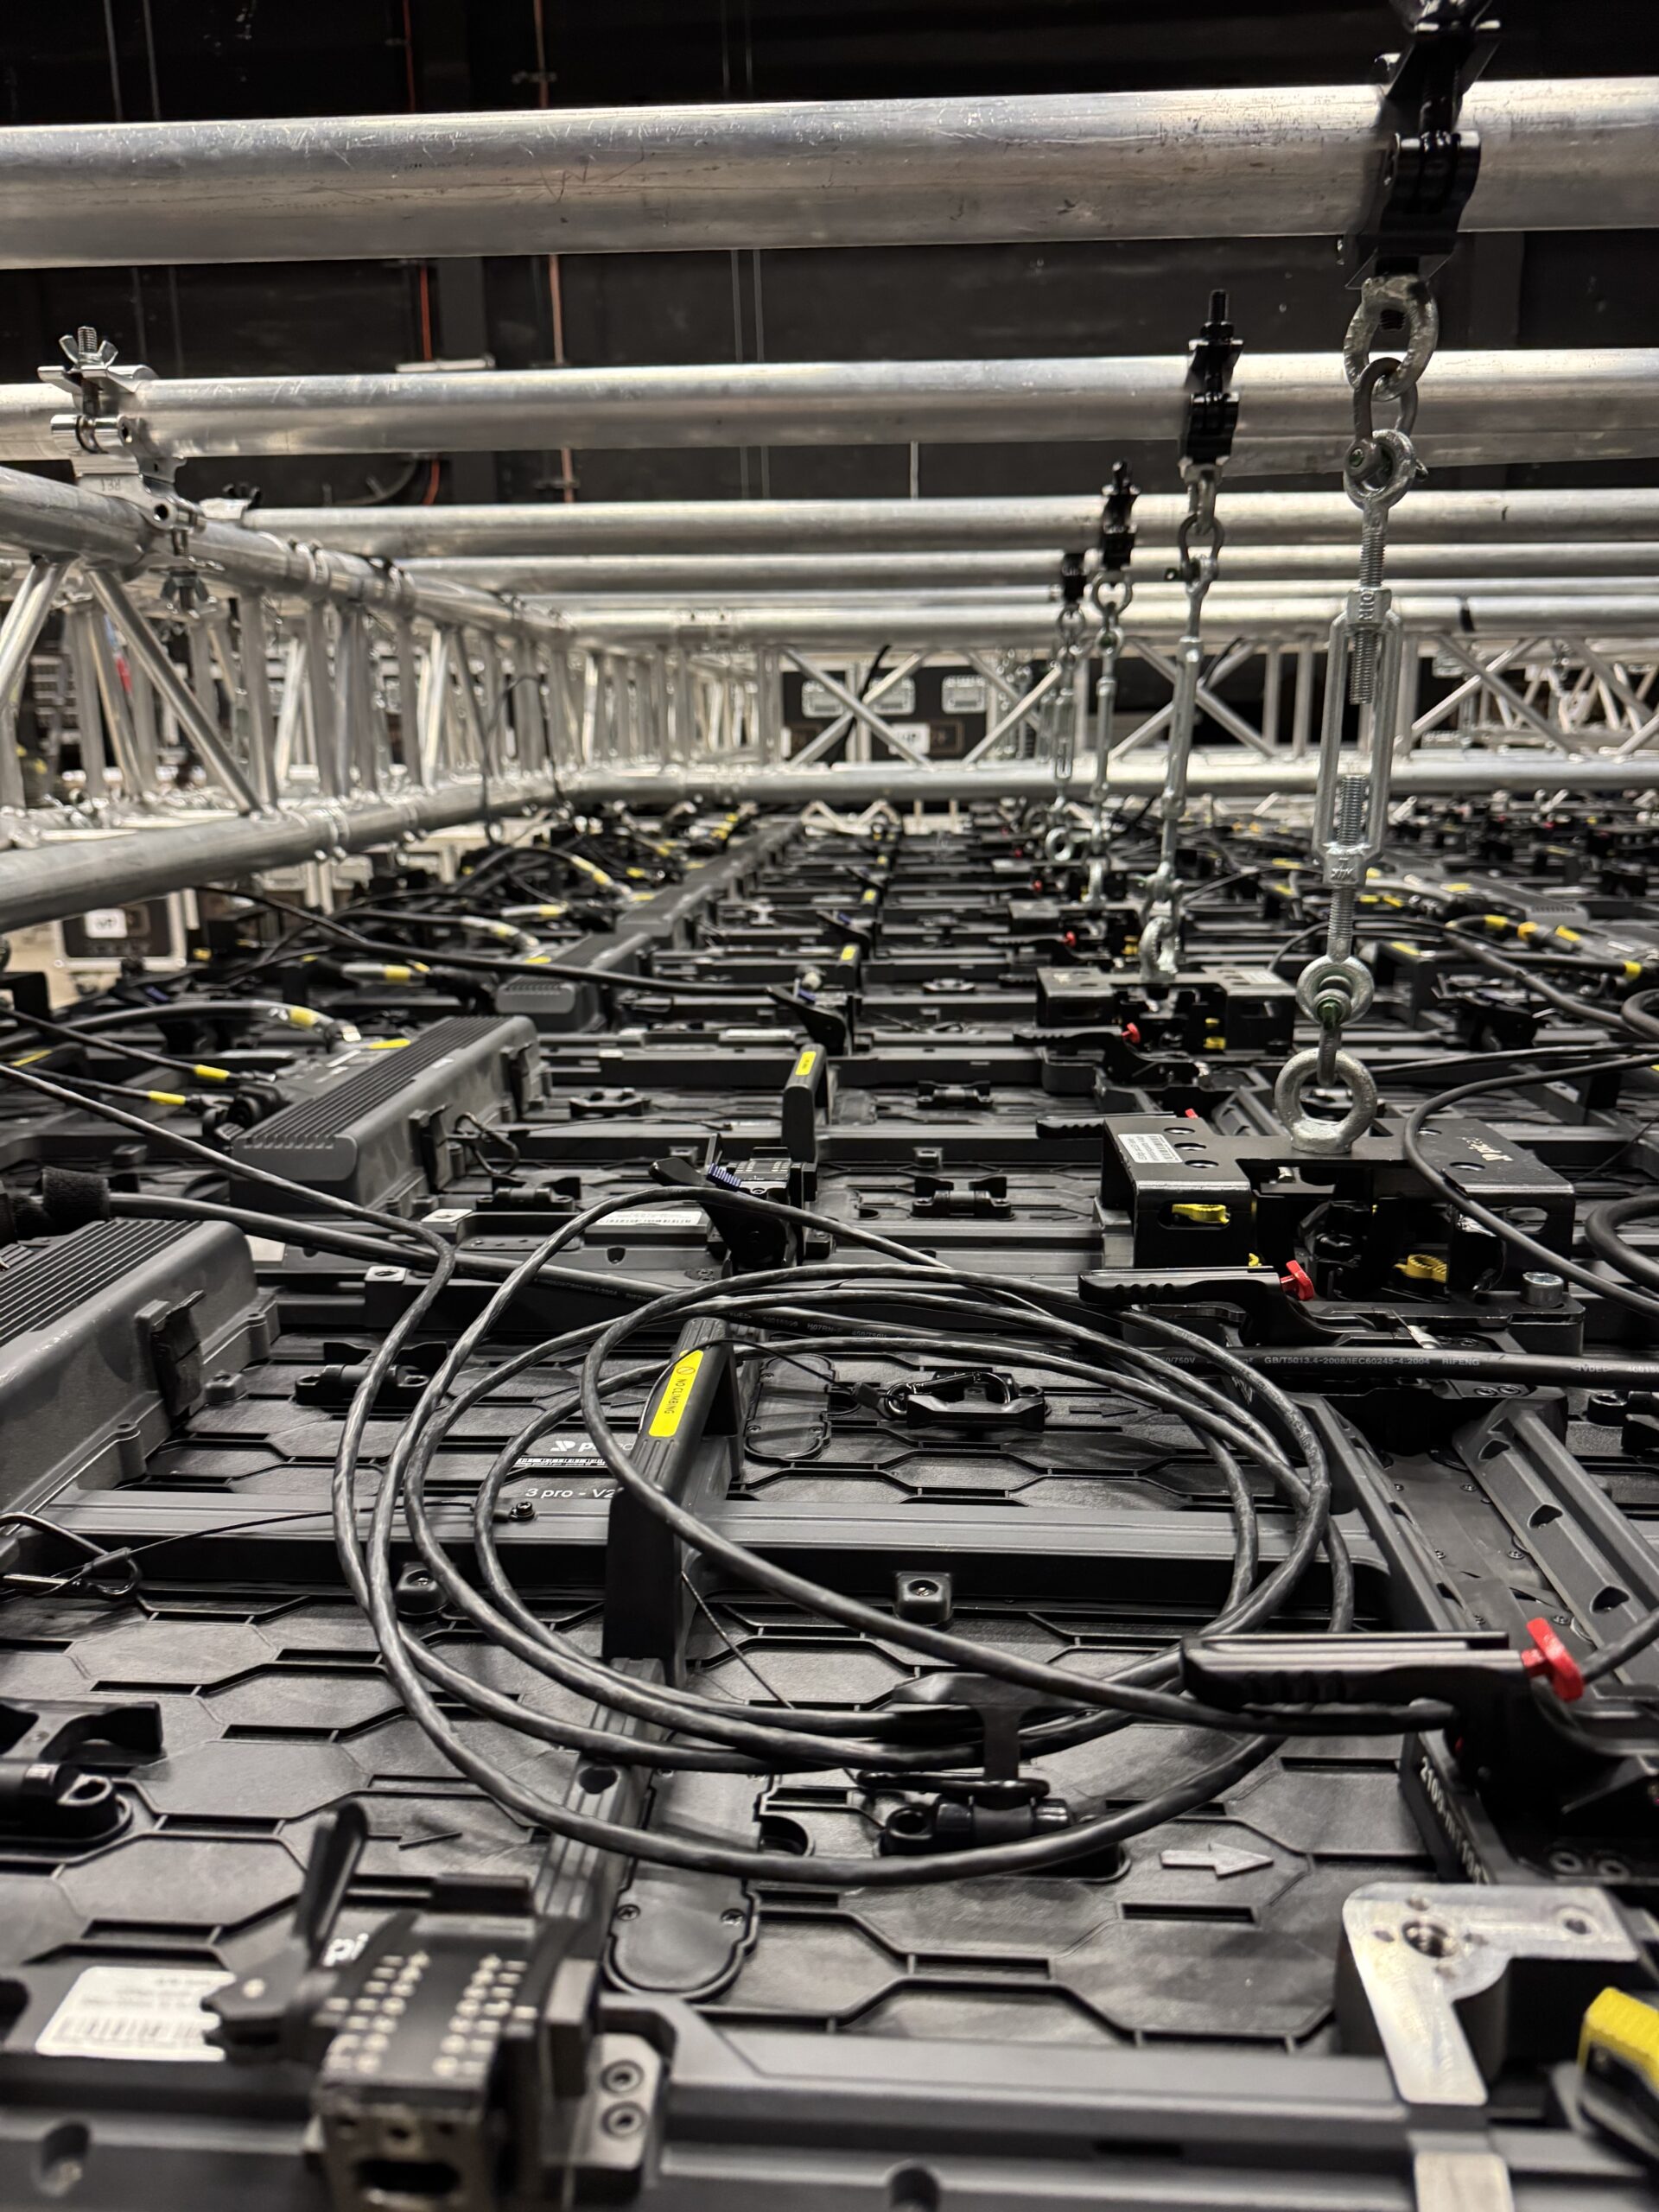
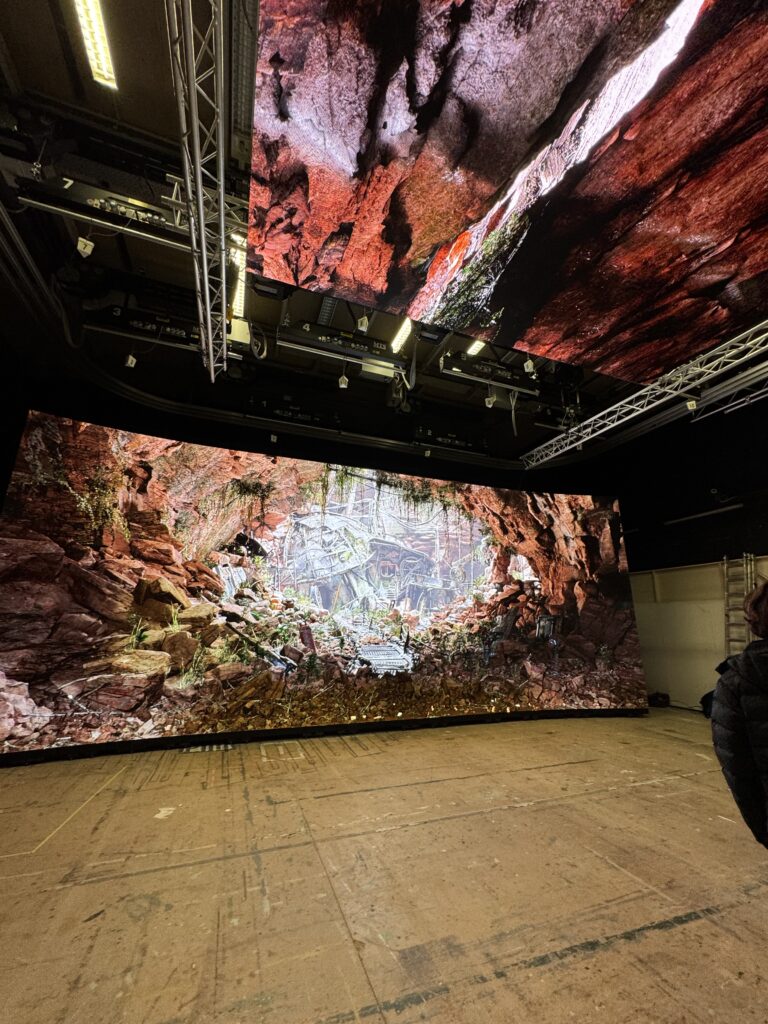
The Wall Setup & Documentation:
Main Wall:
Size: 8×20 Panels
1 Panel: 0.5m
Resolution: 198×198
1x Top & 2x Mobile Panels
Render Nodes:
6x DELL Precision 7875 Tower#
AMD Ryzen Threadripper Pro 7965WX (24-Core)
Nvidia RTX 5000 Ada Generation
128GB RAM
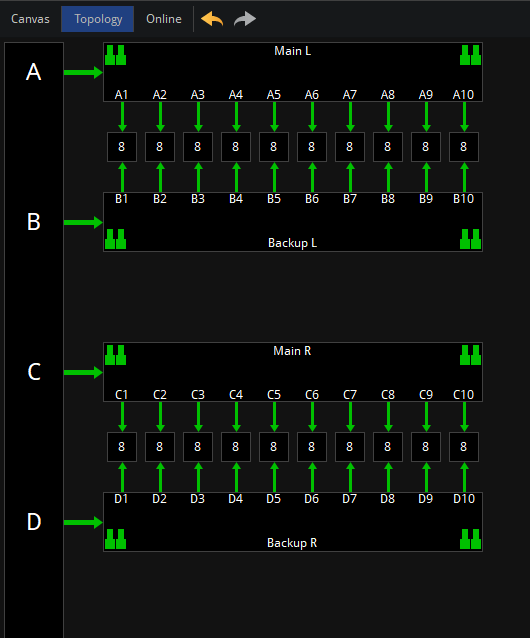
LED Processors:
Brompton (Main LED Wall Processor)
Latest-generation LED processor
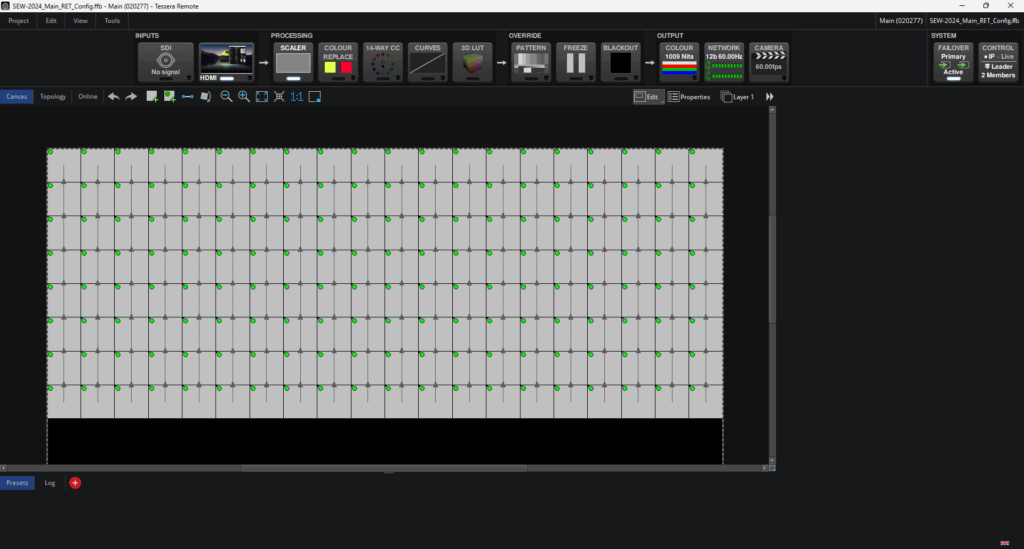
Software: Tessera
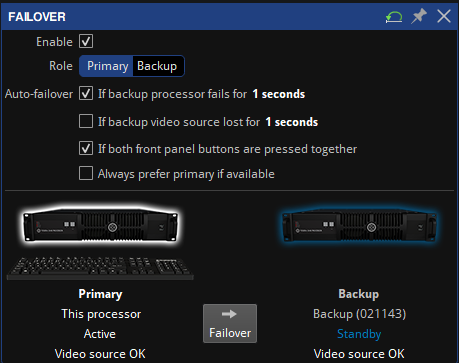
Hardware: 2 processors (Primary & Backup for failover)
Nova (Top & Mobile Panels Processor)
Older-generation LED processor
they are more cost-effective and lack on features compared to Brompton.
Ensure Genlock synchronization is active before starting the render nodes.
Genlock:
Genlock ensures that all devices like (LED panels, Optitrack, cameras) run on the same timecode reference.
This prevents frame tearing, flickering, or latency mismatches between the LED wall and the camera sensor.
Powering On Render Nodes
Turn on the primary render node first
Wait at least 50 seconds before switching on the second render node.
NVIDIA graphics cards use Nvidia Mosaic / NVLink Sync to ensure that all GPUs render frames at the exact same moment.
If multiple nodes start at once, the sync may fail, causing frame stuttering or desynchronization between LED panels.
NVIDIA graphics cards use Nvidia Mosaic / NVLink Sync to ensure that all GPUs render frames at the exact same moment.
If multiple nodes start at once, the sync may fail, causing frame stuttering or desynchronization between LED panels.
3D Print – Optitrack Active-Puck 1/4 adapter
At our shoot, the mounting plate of the active-puck didd break. Big thanks to Tom Tole for already dealing with the problem!Heres the 3d print & blender file: download
Troubleshooting:
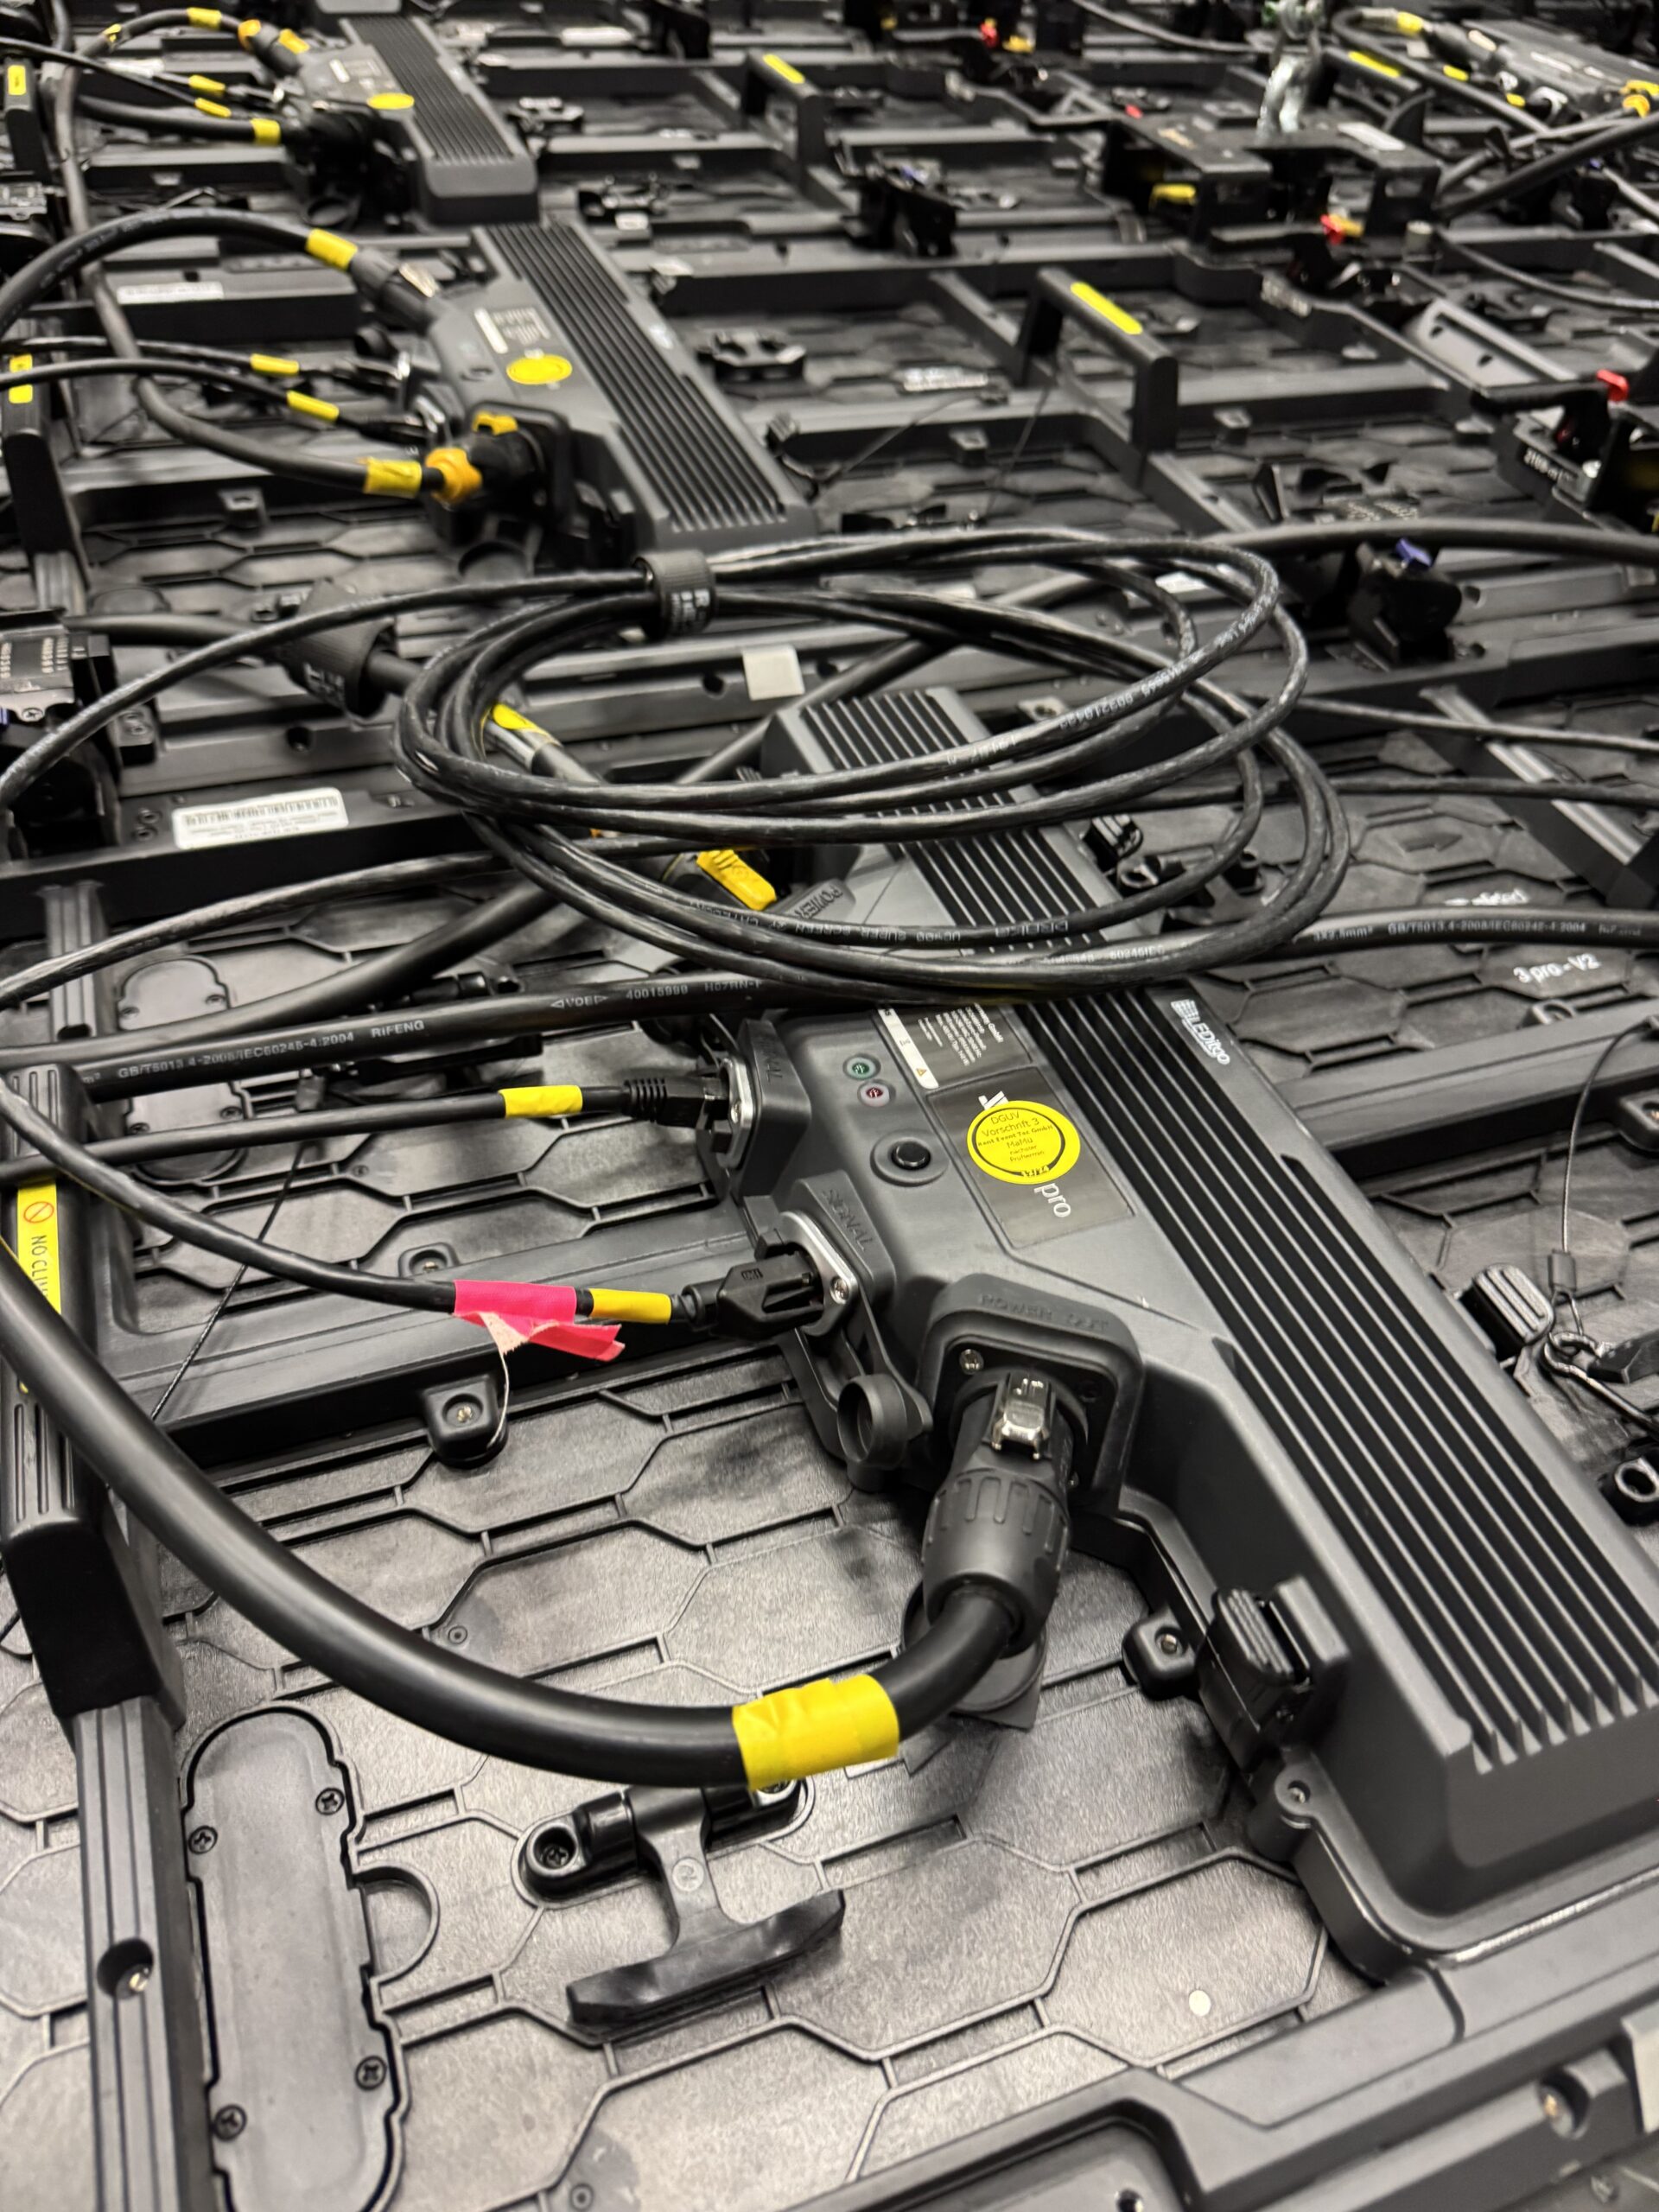
LED Panel Failures
Indications:
A red light indicator on the back of a panel means it has failed or lost power/connection
Fix:
Unplug and reconnect the blue Power IN cable.
This restarts the panel and all panels connected above it.
The Panels are a daisy-chain setup, means that the signal goes from one panels to the next. A failed panel can cut off power to multiple panels above it. Restarting it restores the signal chain.
If the issue persists, a panel reconfiguration may be required in Tessera or NovaLCT.
Panel replacement
Unreal Engine
If the content of the Wall doesnt update while changing things in the Multiuser session, you may have to check if “Freeze Viewport” is enabled
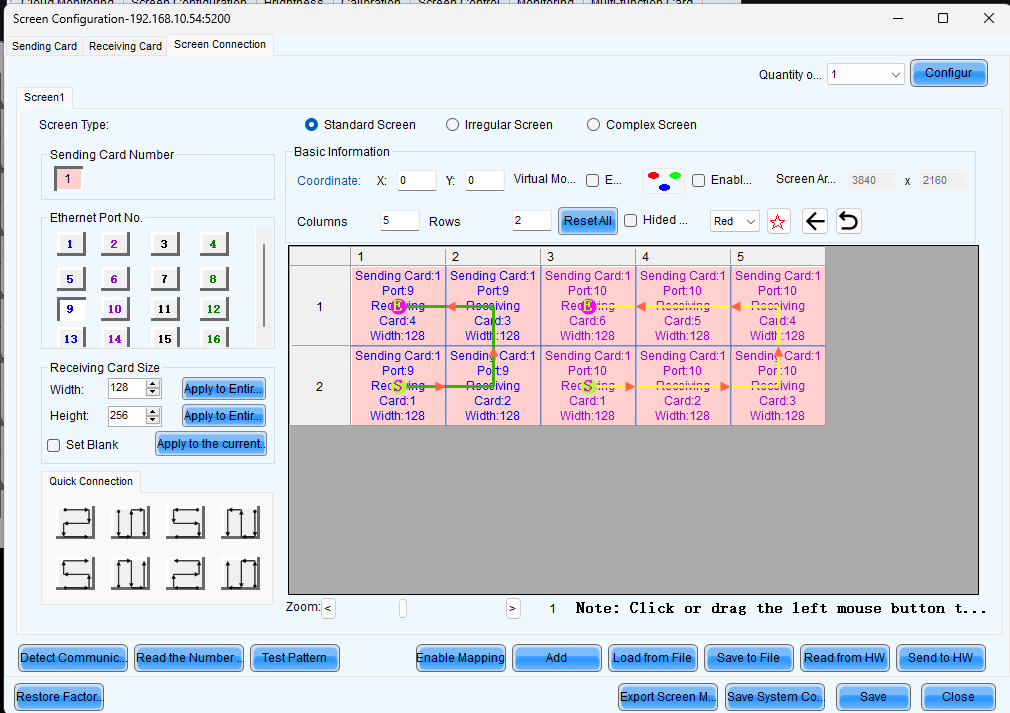
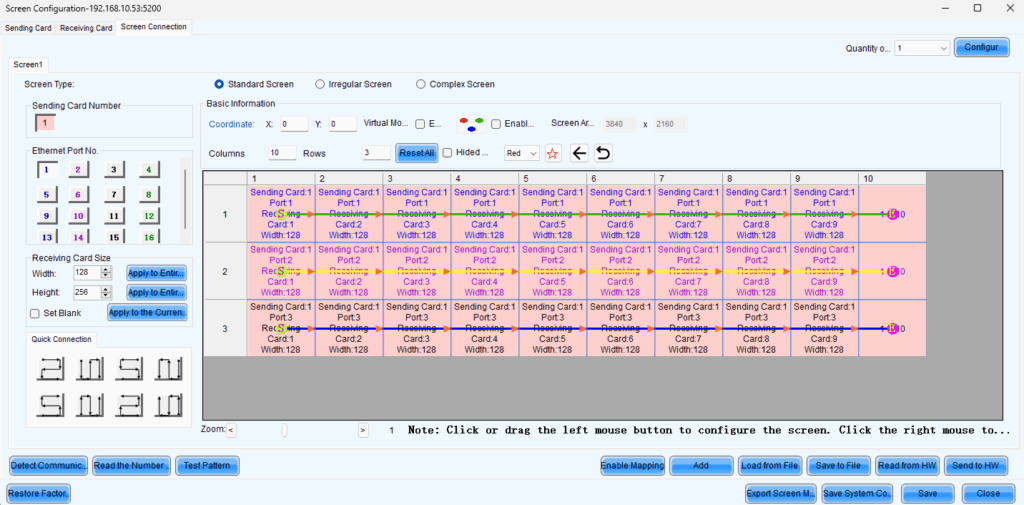
Panel Configuration & Software
Tessera (Brompton Processors Software)
Tessera Remote allows network-based control of Brompton processors.
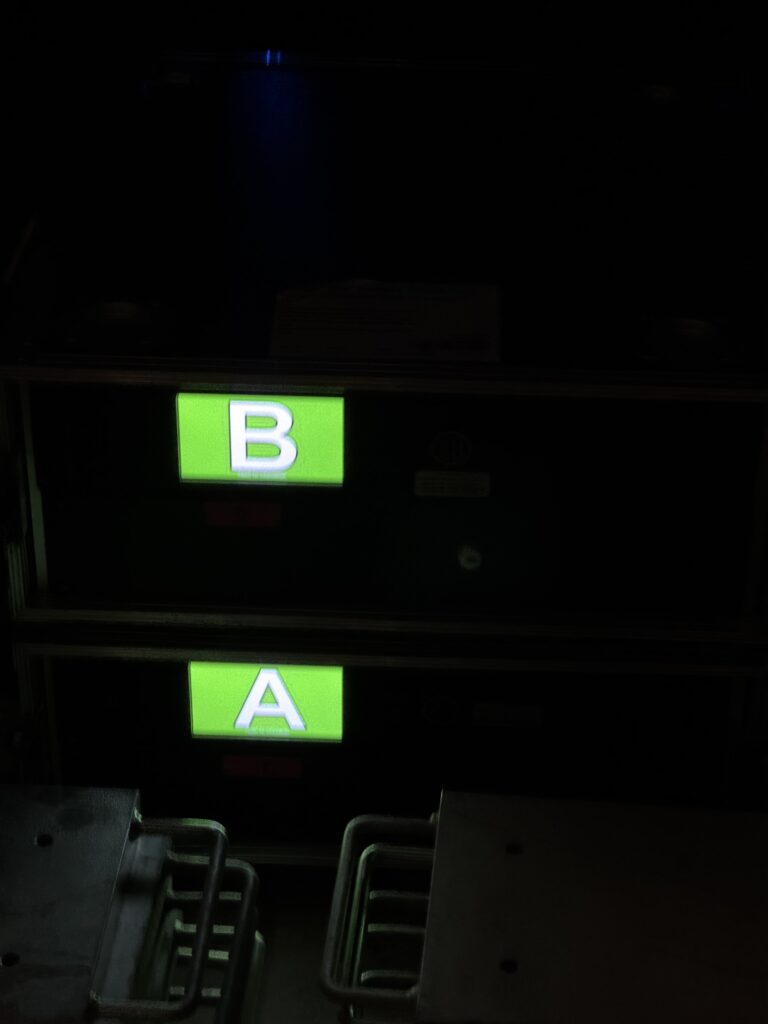
Failover Configuration:
Set up the backup processor to automatically take over in case of failure.
Panel Mapping Setup:
Assign controllers to specific LED panel sections to ensure accurate signal routing.